Unholy Maiden Guide
Unholy Maiden Town and Dungeon Systems — Jobs, Shields, Swamp Layer 2
Red Light income, shield picks, time flow, blast routes, and the perk flags I actually track.
Last updated: November 13, 2026
Quick Answer
Flame Buckler or Magic Stone Kite for blocks; blast wall A first; swamp seals are color-coded on layer 2 map.
Town pays the bills; the dungeon eats the clock. This leaf is systems-only — cheese lives in veteran strategies.
Red Light District and jobs
- Casino slots — save/load if you gamble; not required.
- Bunny suit — early on Warrior is worth it; VIP + public shift in one day can print 300+ / 600+ G if you save-scum slots.
- Lewd gain from jobs/dialogue stops at breakpoints — pure runs often sit around 20% chastity; Mage may drop toward 50% for spell thresholds.
- Bath house dialogues bump lewd%; rejecting bathhouse cleaning quest adds chastity (see veteran leaf).
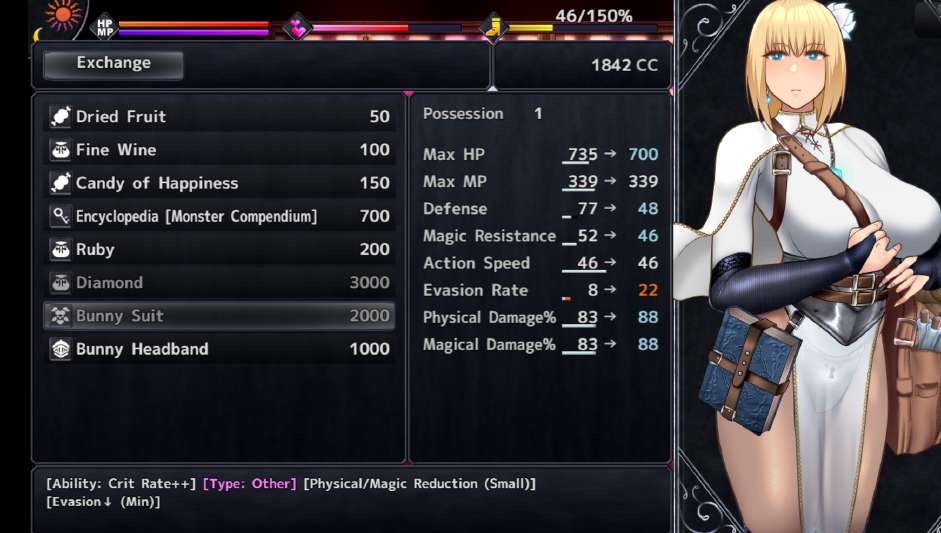
Shields and runes
Two endgame shields I keep:
| Shield | Block | Notes |
|---|---|---|
| Flame Buckler | 50% | Fire immune; ice/dark handled; pairs well with Parry rune |
| Magic Stone Kite | 40% | Ice immune; balanced resist spread |
Honorary: Old Soldier Greatshield — ghost knights; swap in for pure physical predicts.
Runes (combat): Parrying Ultimate, Lockpicking Ultimate (lazy default), Skin Care, Stamina Conservation Ultimate, Saintless Blessing, Assassination/poison line, Weakness Analysis + crit trio for warriors, Heart of Courage on fear bosses.
Utility: Corrupted Heart (lewd up), Merciful Heart (Order recover), Budding Malice (Chaos x2 item), Archaeology + Double Up, Feint Master vs spiritual knights.
Time flow (loose)
Screen transitions cost hours: morning → noon → afternoon/evening → night → late night. Baths, cleaning, performances burn chunks. Dungeon camping advances time but not always the day counter — see dungeon day reset.
Do not over-optimize on first clear; miss a meet → load an older slot.
Blast bombs and castle storage
Claim castle lever → bomb stash via canals. Wall route to the stash confused me — plan after you unlock the walls.
Three blast targets (A / B / C) — hub table summary: A best, B ok, C cannibal trap maze.
Swamp layer 2 seals
Depends which wall you opened — you land in zone A, B, or C (C = cannibal village choke).
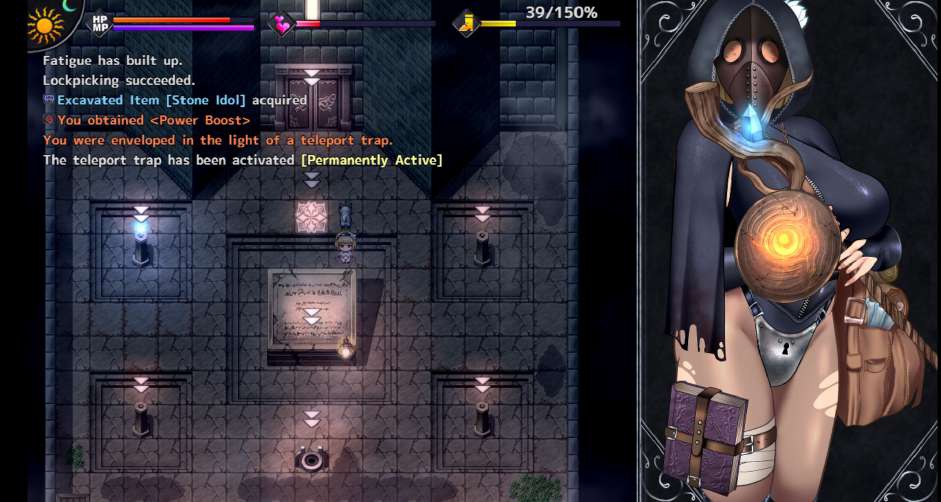
Colour key on the map:
| Colour | Meaning |
|---|---|
| Green | Crimson seal |
| Orange | Seal behind teleport and exit A |
| Yellow | Exit B intersection |
| Blue | Easier seal path |
Carry boiled eggs — poison/swamp ticks are fake damage until you are actually dead; heal on the far side.
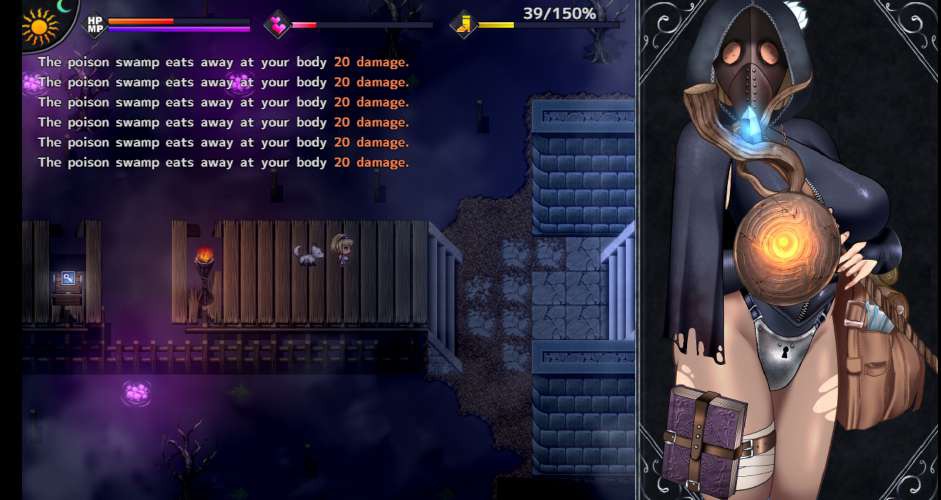
Last seal — between green and orange arrows; swim acid shortcut south. East goes cannibal village + second shrine statue (invisibility potion route).
Perks I bothered to log
Not a full datamine — just flags that changed my runs:
| Perk | Effect (as stated) |
|---|---|
| Virgin | +prayer power |
| Order of the Little King / Black Knight | Regulus vs Gustavo sides |
| Slave | No return; faint = cage |
| Archmage | Win witch duel — magic boost |
| Corrupted Chastity (50% lewd) | Lewd won’t drop; prayer hit, +magic |
| Follower of Maiden Teachings | Otto quest — unclear buff text |
| Brain Washed 100% | Auto-lose turns |
| Attribute “no-perk” lines | Vigor/STR/DEX/INT/Speech/Beauty level titles |
Anything missing from the table still shows in the in-game perk list when you earn it.
Intimidation skips (town)
Intimidation → wanted (minor) and -5 fame often.
| NPC | Result |
|---|---|
| Store owner Borge | Leaves city; shop closed forever |
| Otto at Maiden house | Skips entire Otto arc — no token/tunnels |
| Submissive Ed | Fold at intimidation 0 |
Use only if you know what you lose.
Back to hub.
More Unholy Maiden guides
Return to the guide hub for the full walkthrough index, or browse every game in the library.