Rogue Blight Guide
All Bosses — Cycle 1 & New Game+
Boss roster reference — preview screenshots, loot and map shots, NG+ gatekeepers. Cycle 1 fight notes are in the walkthrough hub.
Last updated: September 5, 2026
Quick Answer
Cycle 1: Gorilla → Wendigo → Statue Dweller → Shadow → Jester → Lady of Blight. Cycle 2 (NG+): Elder Shaman → Broodmother → Plague Herald → Illdrake Knight → Seer of Rot → Lady of Blight.
This page is the boss reference — roster, screenshots, loot, and map nodes. Cycle 1 fight strategies are written inline in the walkthrough hub (Phase III). I don't duplicate those strats here.
Boss identity is cycle-locked (not random within the same clear). Lady of Blight is the finale every loop; everything else swaps on NG+. Cycle 3+ expands the pool — I'll add rows when I verify a clean kill.
Cycle 1 — first clear
| # | Boss | Zone | Preview | Walkthrough |
|---|---|---|---|---|
| 1 | Gorilla | Waywood Forest |  |
Hub — Zone 1 Gorilla |
| 2 | Wendigo | Waywood Forest | 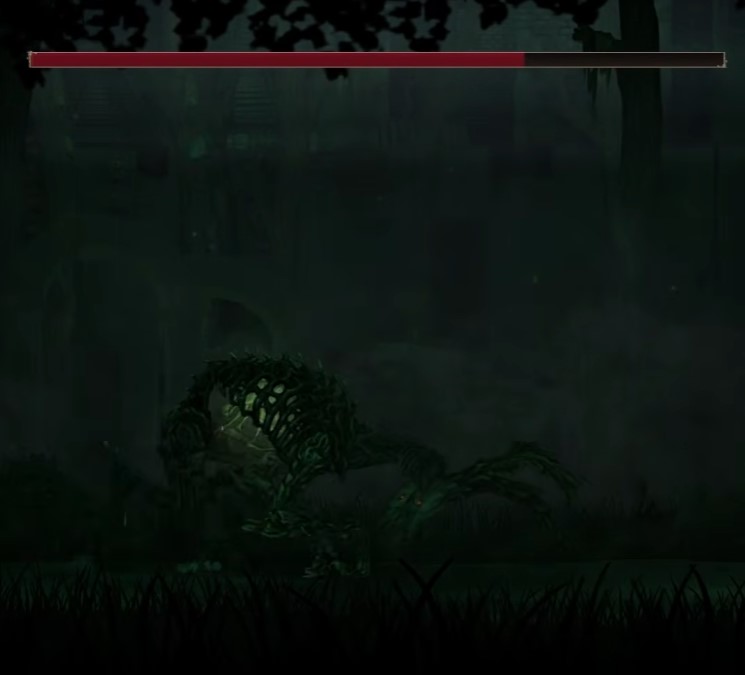 |
Hub — Zone 1 Wendigo |
| 3 | Statue Dweller | Fireworn City | 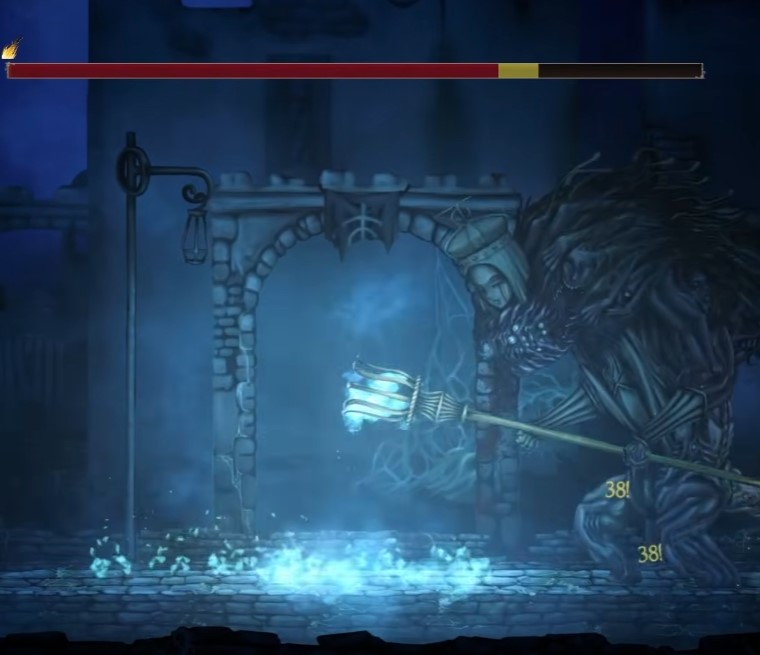 |
Hub — Zone 2 Statue Dweller |
| 4 | Shadow | Fireworn City | 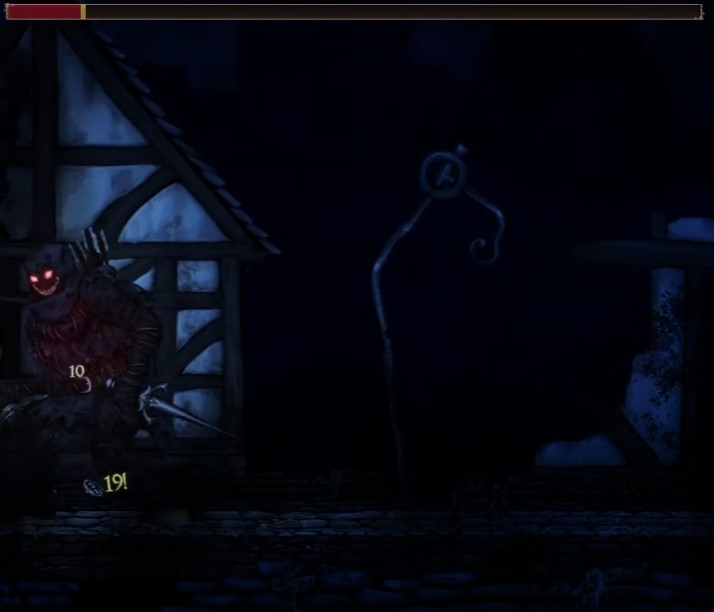 |
Hub — Zone 2 Shadow |
| 5 | Jester | Blight Castle | 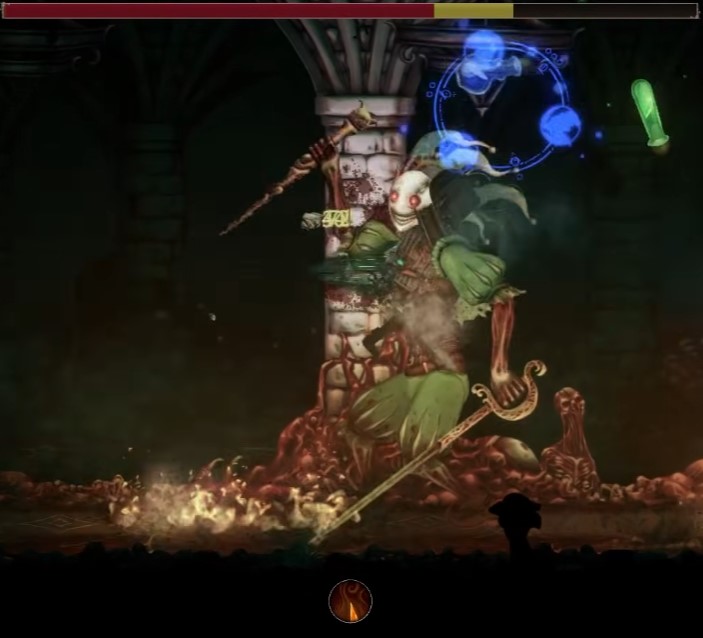 |
Hub — Zone 3 Jester |
| 6 | Lady of Blight | Blight Castle | 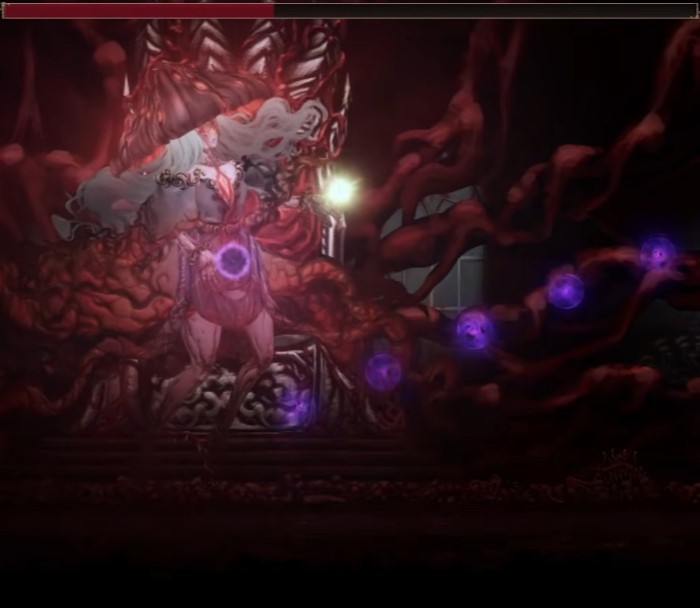 |
Hub — Zone 3 Lady of Blight |
Optional branch: Wyndo (Fireworn) — Hub — optional Wyndo.
Cycle 1 loot reference
| Boss | Loot / flow |
|---|---|
| Statue Dweller | 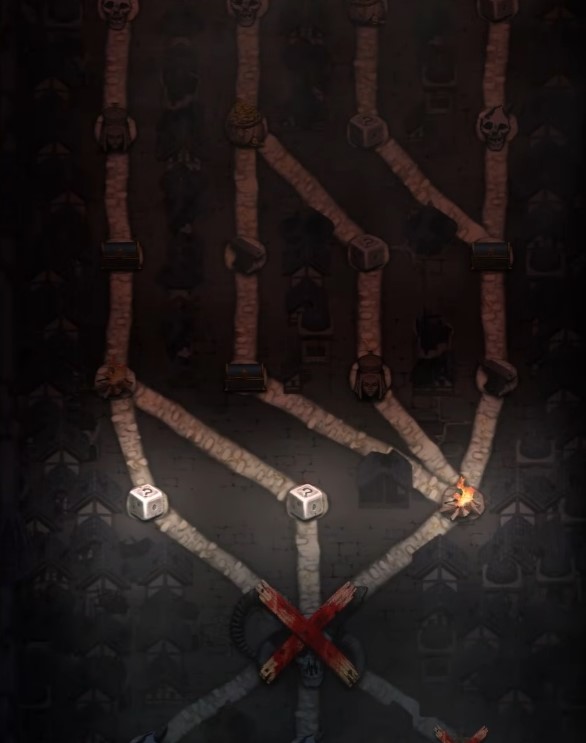 · · 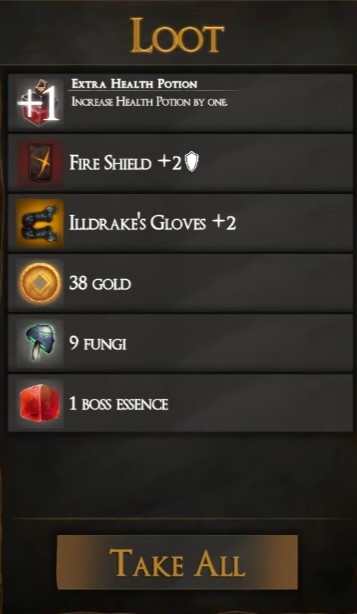 |
| Shadow | 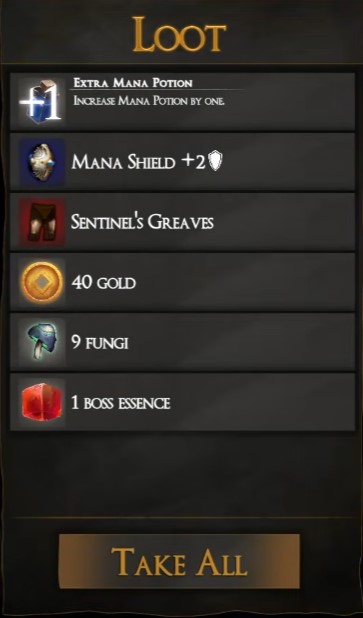 |
| Jester | 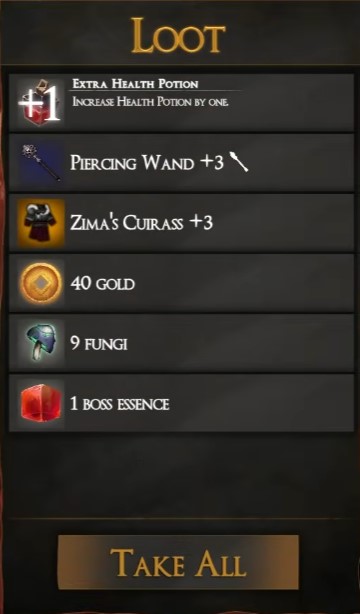 |
| Lady of Blight | 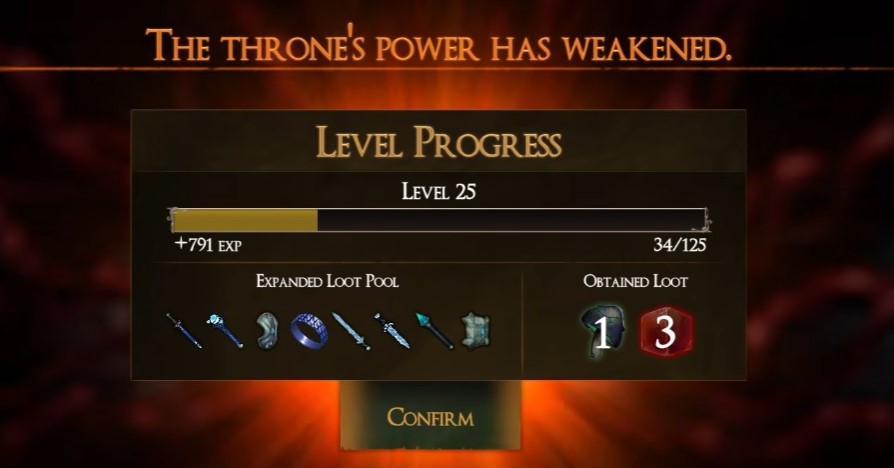 |
Cycle 1 map reference
| Zone | Branch map |
|---|---|
| Fireworn — Shadow node | 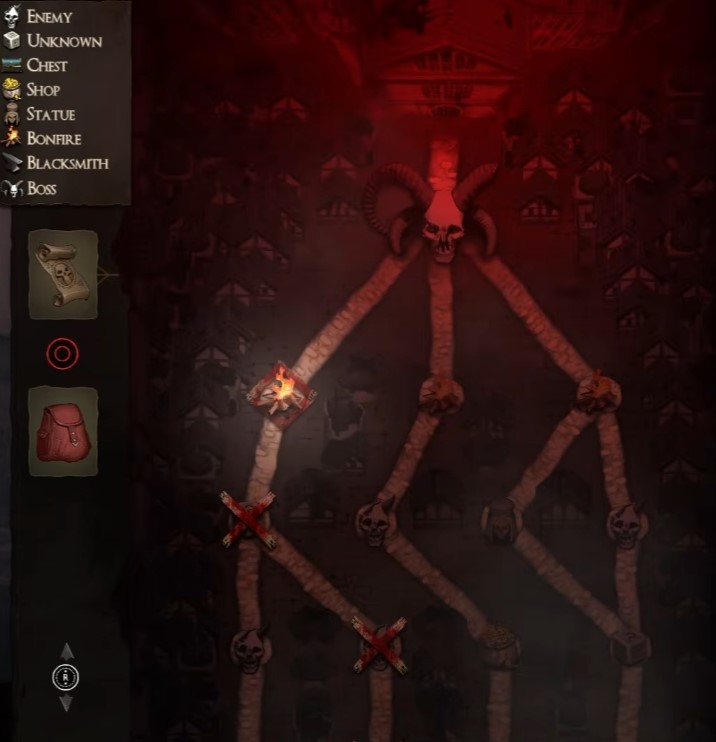 |
| Blight Castle | 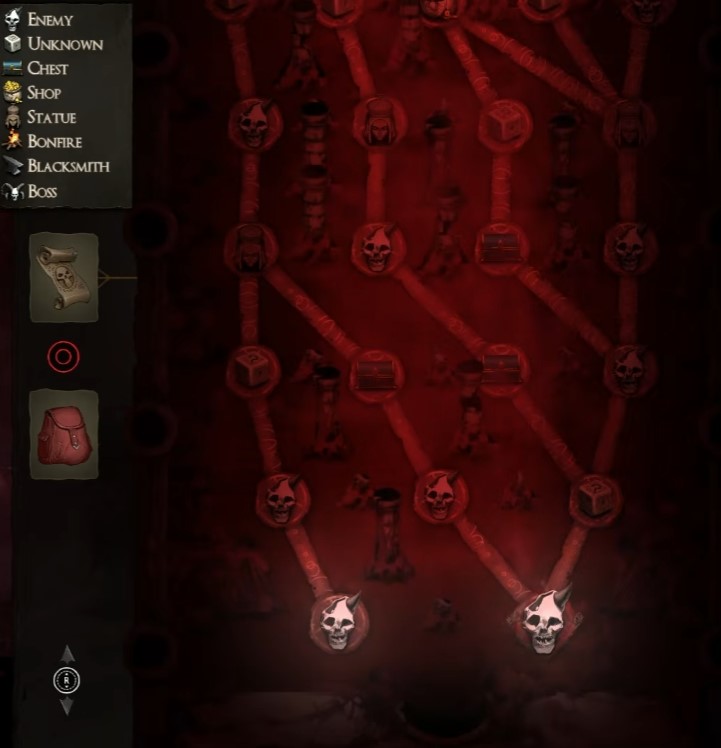 |
| Jester node | 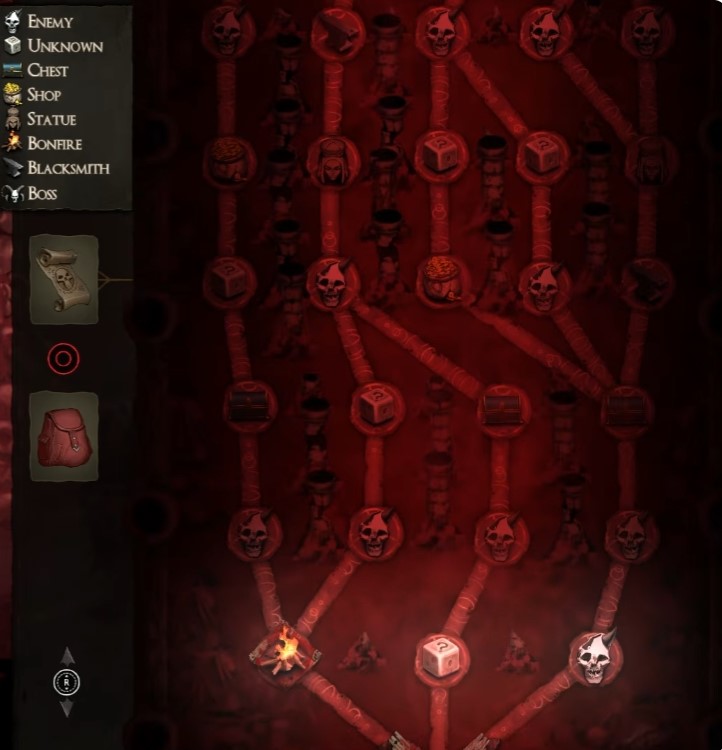 |
Cycle 2 — New Game+
Starts automatically after your first Lady of Blight kill. All six gatekeepers change — only Lady repeats as finale. Illdrake Knight is the Cycle 2 Fireworn boss — not a random swap from Cycle 1 Shadow.
| # | Boss | Zone | Preview |
|---|---|---|---|
| 1 | Elder Shaman | Waywood Forest | 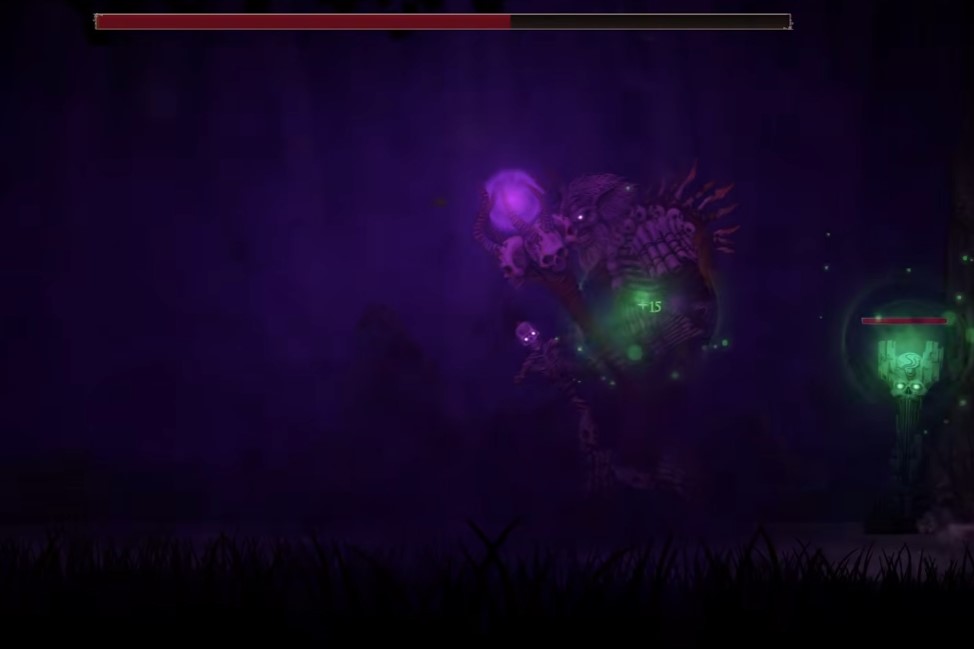 |
| 2 | Broodmother | Waywood Forest | 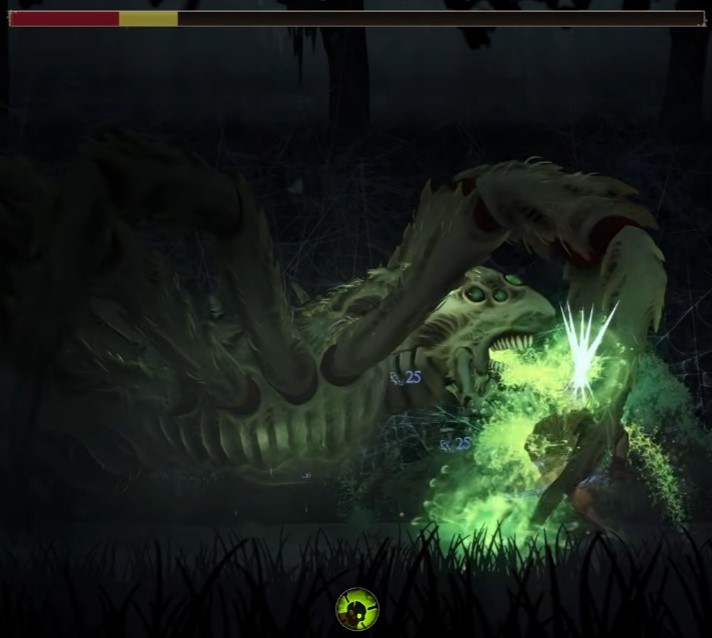 |
| 3 | Plague Herald | Fireworn City | 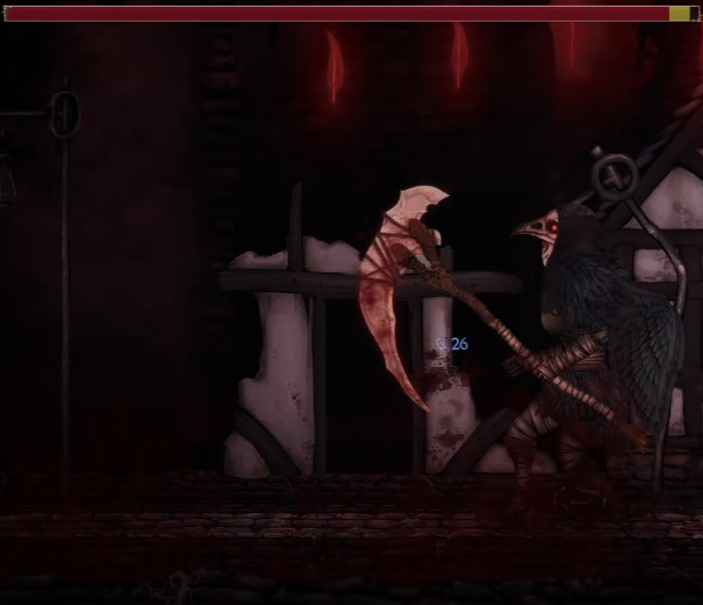 |
| 4 | Illdrake Knight | Fireworn City | 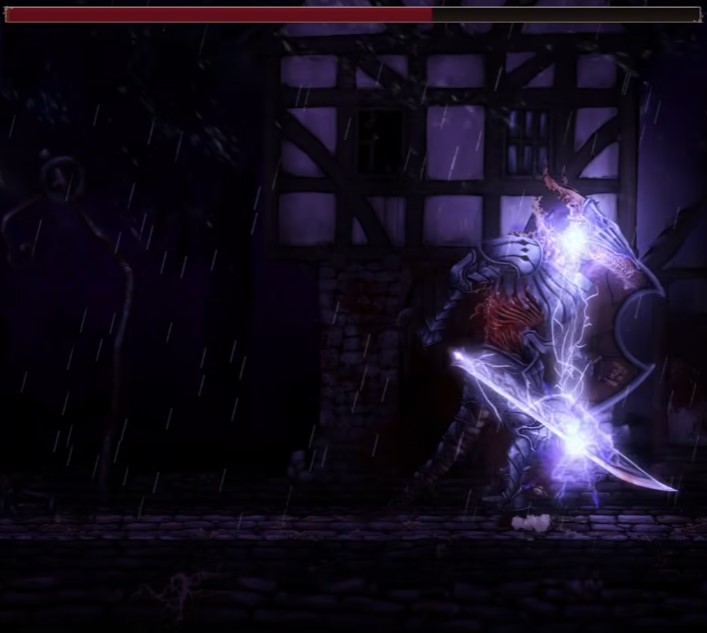 |
| 5 | Seer of Rot | Blight Castle | 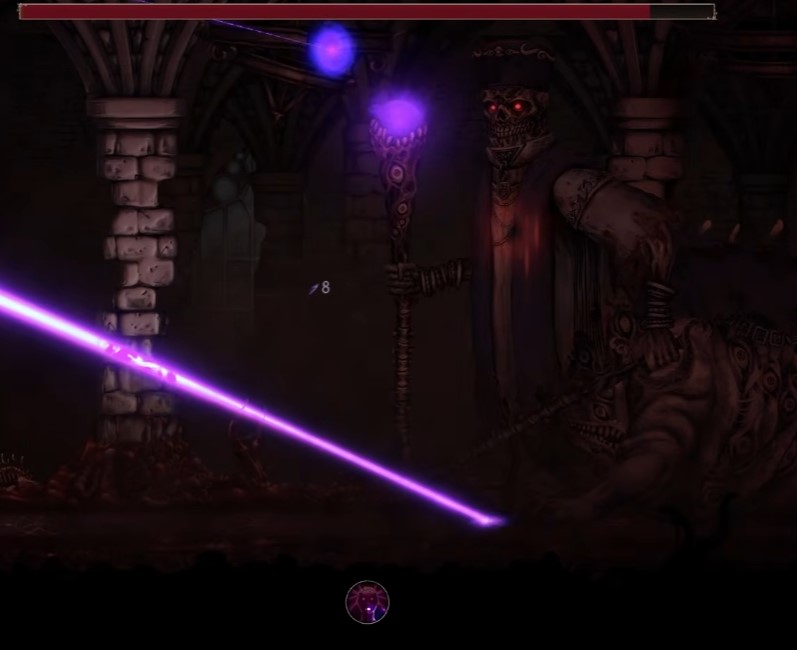 |
| 6 | Lady of Blight | Blight Castle | |
Cycle 2 loot reference
| Boss | Loot screen |
|---|---|
| Broodmother | 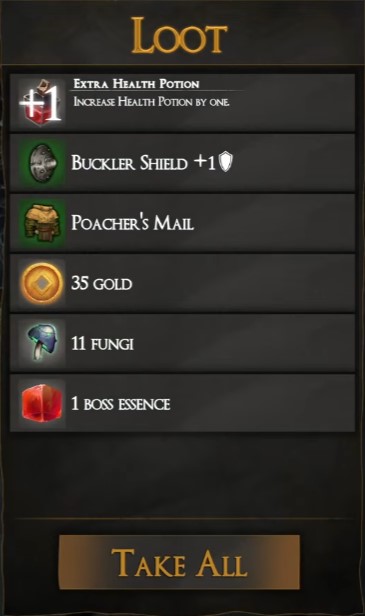 |
| Plague Herald | 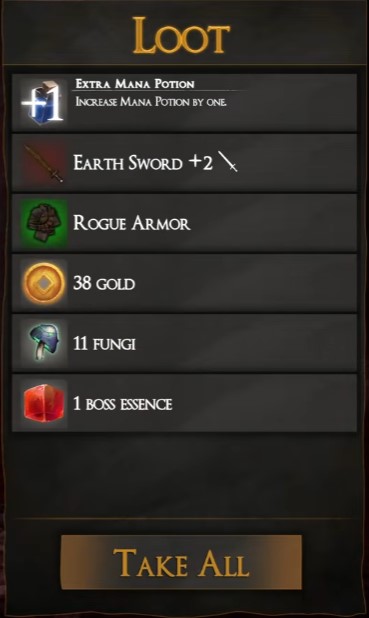 |
| Illdrake Knight | 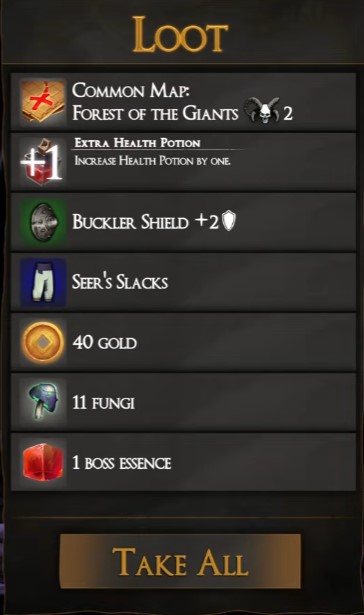 |
| Seer of Rot | 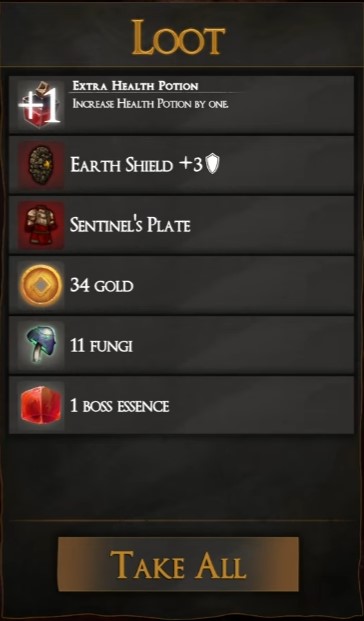 |
Cycle 2 map reference
| Boss | Branch map |
|---|---|
| Illdrake Knight | 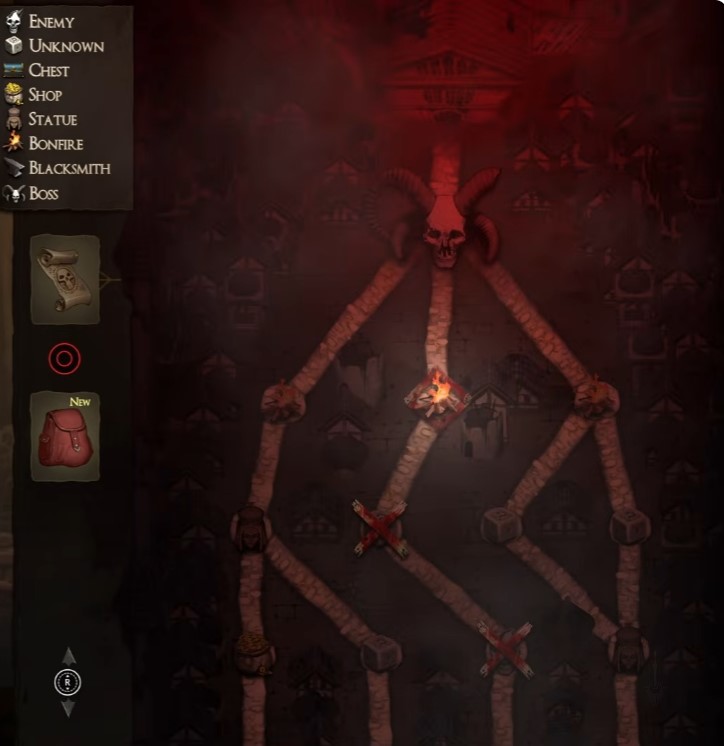 |
NG+ working notes
Full telegraph write-ups coming after I record clean kills. Same prep as Cycle 1 — camp before gatekeepers, weapon maxed, Earth Bash → Shattered burst. Under-spent Sanctuary Fungi hurt here: meta progression.
| Boss | What I do today |
|---|---|
| Elder Shaman | Faster Wendigo check — dodge ground circles, Fragment Cannon under Shattered |
| Broodmother | Clear adds before Shattered commit; don't let minions interrupt volley |
| Plague Herald | Blacksmith before node; finish exploding trash at range |
| Illdrake Knight | Sidestep lunge like Cycle 1 Shadow; higher chip damage |
| Seer of Rot | Rot pools force reposition — Water Sword between bursts |
| Lady of Blight | Same rotation as hub Zone 3 finale; higher stats |
Cycle 3 and beyond
I haven't finished NG3 yet. Community footage shows more bosses entering the rotation — e.g. Statue Dweller on later cycles outside his Cycle 1 slot. I'll add table rows after a verified clear.
Hub: Cycle 1 walkthrough.
More Rogue Blight guides
Return to the guide hub for the full walkthrough index, or browse every game in the library.