Tiny Eden Guide
Tiny Eden Walkthrough — Vook's Early Route to the Lab
Beginner route: first strawberry sale through balcony, kitchen, second room, bank, and lab build — more chapters as I play.
Last updated: September 13, 2026
Start Here
Quick answer: Clear balcony → water strawberry → shears + first order → fork/weeds → roof cat Bubbles → cook dishes → $50 second-room key → bank if needed → lab materials.
If I am simply asking "where do I go next?", I start with the sections below on this Tiny Eden hub page.
What this game is
Cozy gardening sim on the surface. Under that: every dollar feeds the next key, room, or blueprint tier before your balcony chokes. I stopped treating it as pure chill and started queueing orders like a tiny CEO — ok, it clicked.
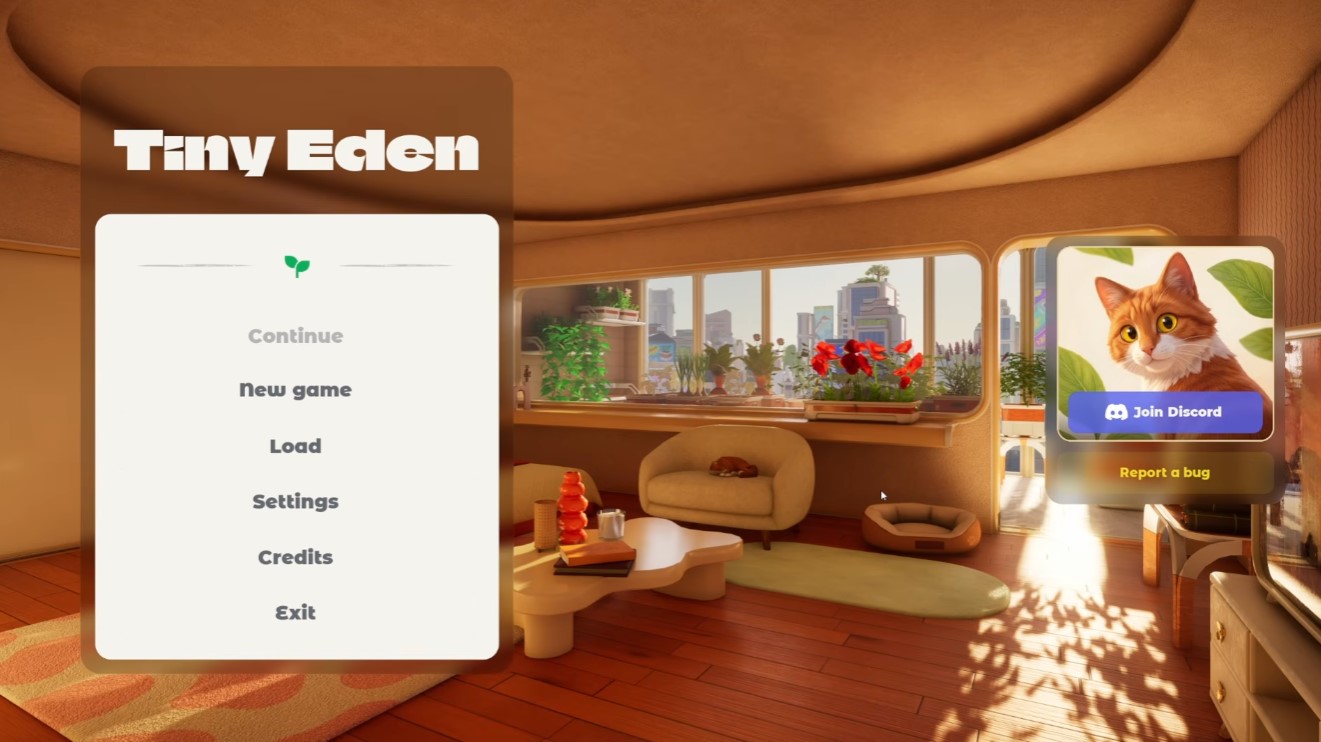
This hub is my early-game route only. I am still playing; when I push past the lab I will extend this page. For now: Apartment Level 5 → lab construction goal in the current build.
Official FAQ: First-person only (no third-person toggle). Time runs 60:1 — no fail state for bad pacing; you can go broke but recovery is easy. No game over.
Shop reputation and seeds: unlocking seeds and blueprints — link when the drone starts gating inventory.
Some nice tricks you might have missed — well coins, the 11 PM freeze, bills, lamps, vacuum weeding, seasonal seed buys. Spoilers if you want everything to feel discoverable: beginners tips.
Chapter order (so far):
- Phase I — Level 5: balcony + first plant
- Phase II — First harvest and sale
- Phase III — Weeds, soil, planters
- Phase IV — Plant health (light + water)
- Phase V — Bubbles on the roof
- Phase VI — Kitchen profit
- Phase VII — Second room ($50 key)
- Phase VIII — Bank loans
- Phase IX — Lab build (current endpoint)
Phase I — Level 5: balcony + drone
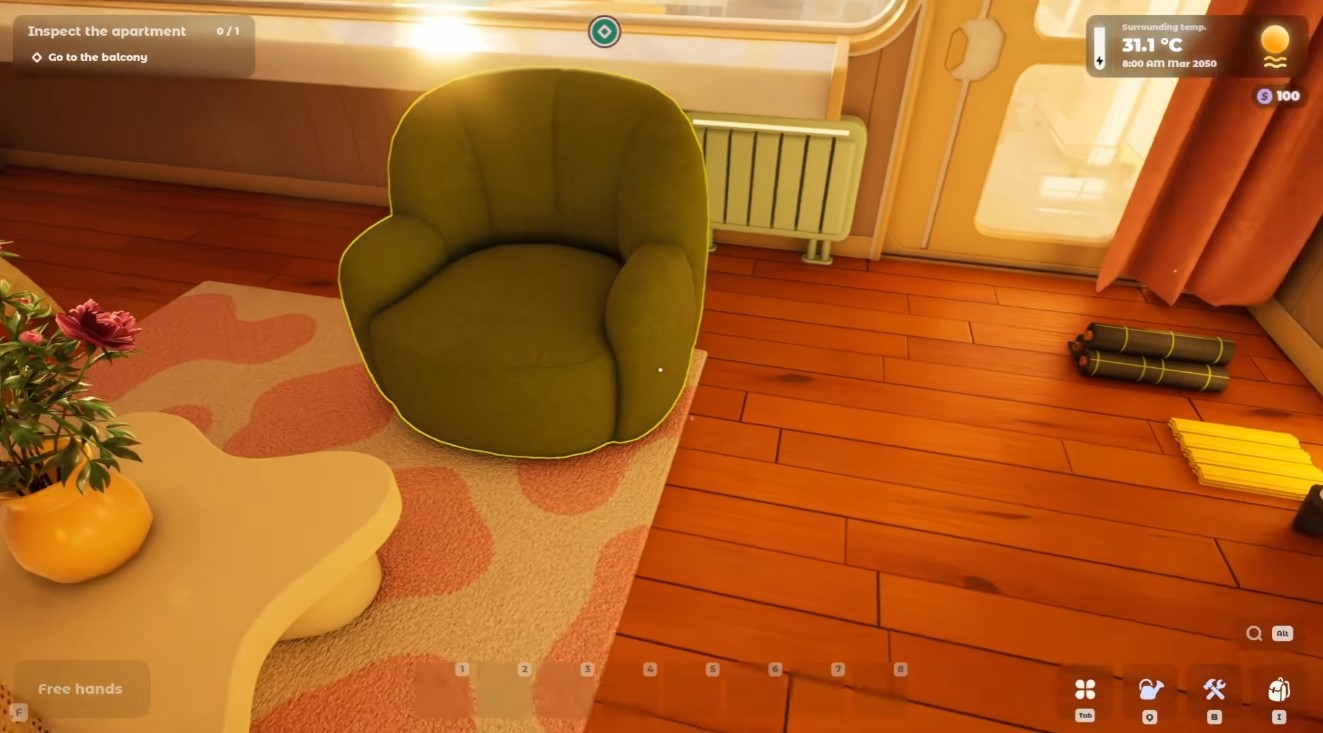
Do not skip tutorial prompts — they teach clean → plant → water → sell, the loop for the whole run.
- Explore the apartment, go out the balcony door.
- Remove the trash pile — no planters until the floor is clear.
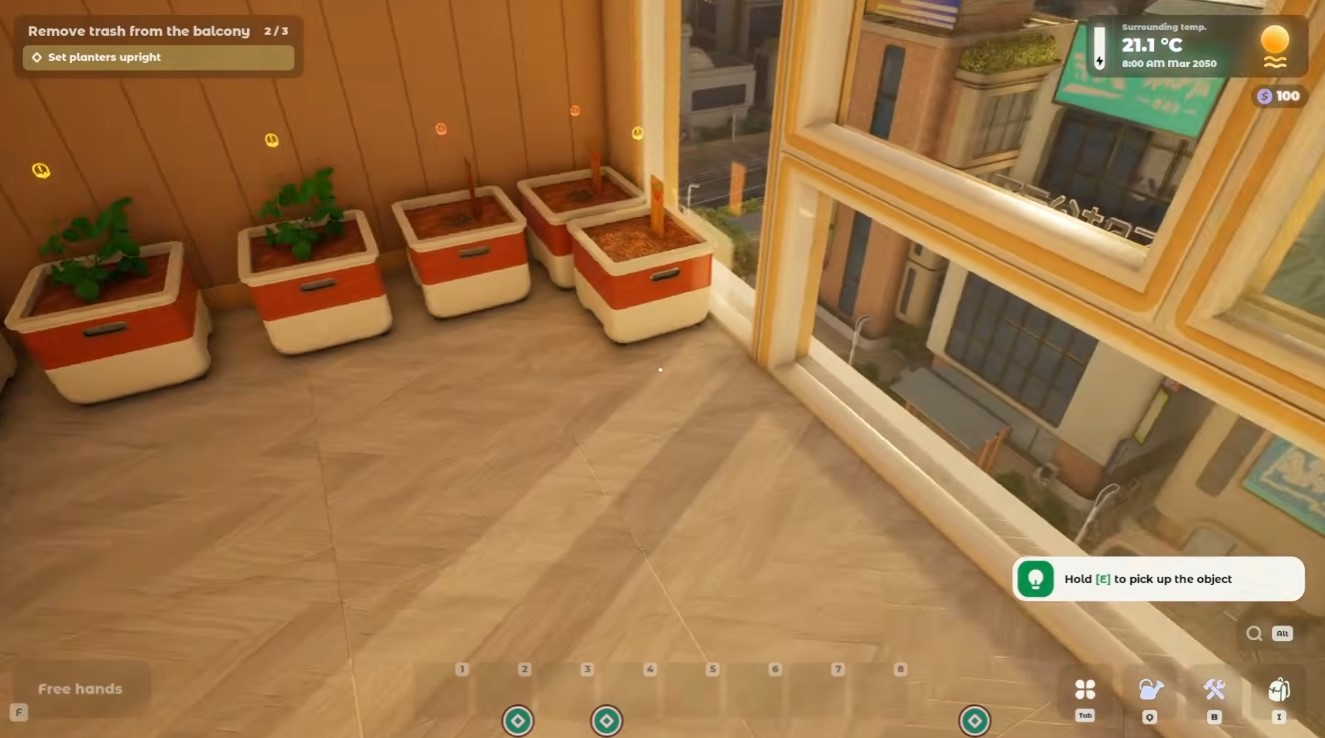
- Place the two starter planters when prompted.
- Open the cabinet → home assistant drone → register → Tab tablet unlocks.
- Accept water the strawberry task.
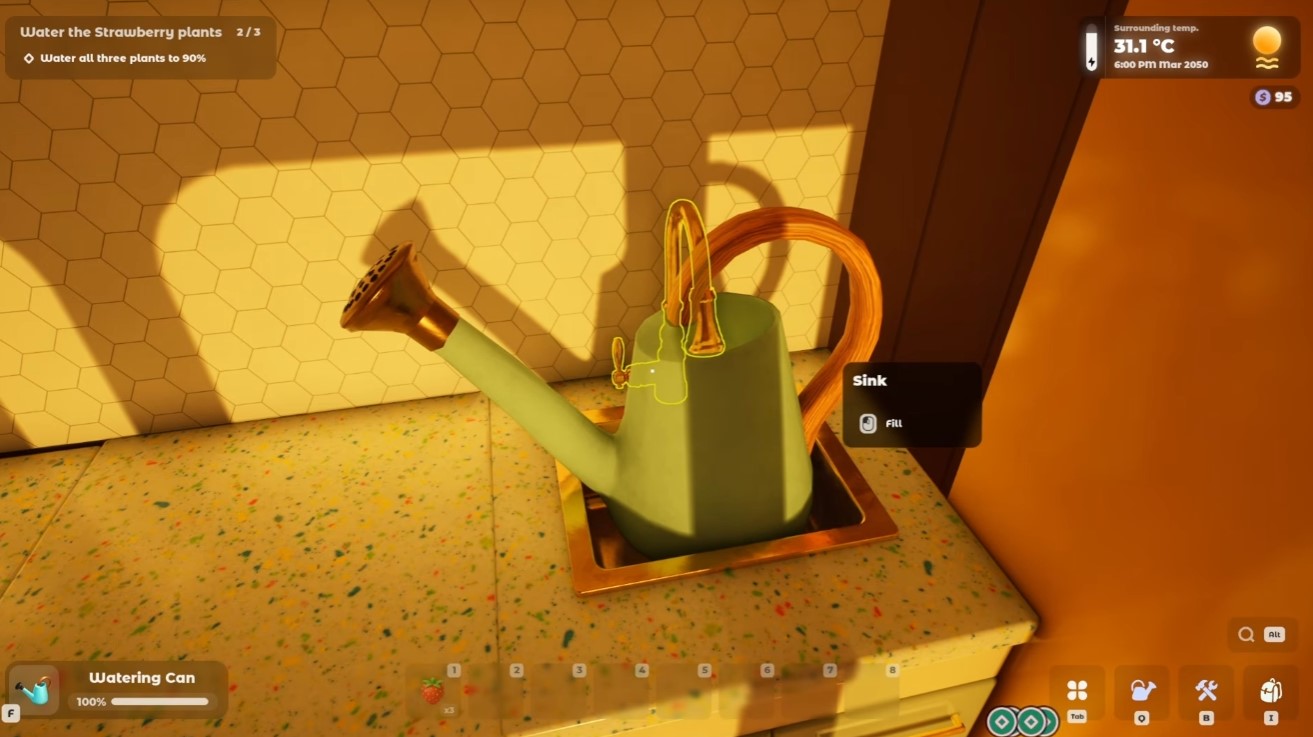
- Fill the watering can at the sink. Hold and sweep across soil — one click is not enough.
- Vacuum dirt on the floor. Mess warning slows you down.
- Talk to the drone after every big step — it is quest giver, shop, and mail.
Phase II — First harvest and sale
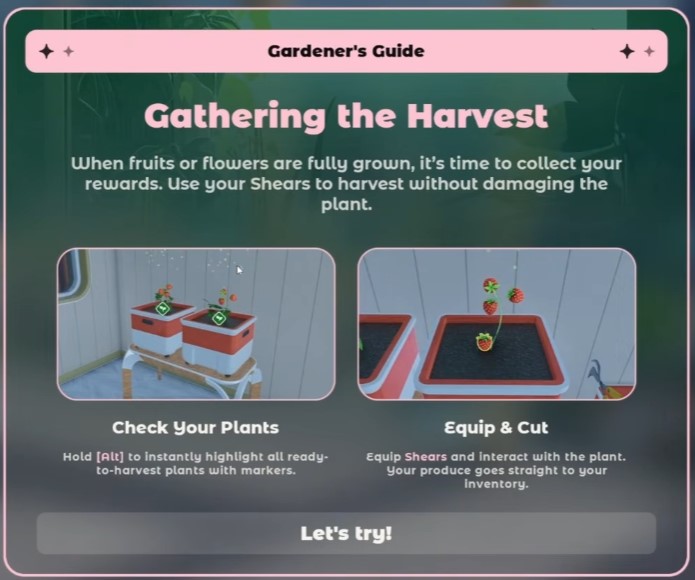
First real money gate: Garden Shears ($5). I buy nothing else before this.
- Red berries on the plant = ready. Shop Tab → Shop → Garden Shears.
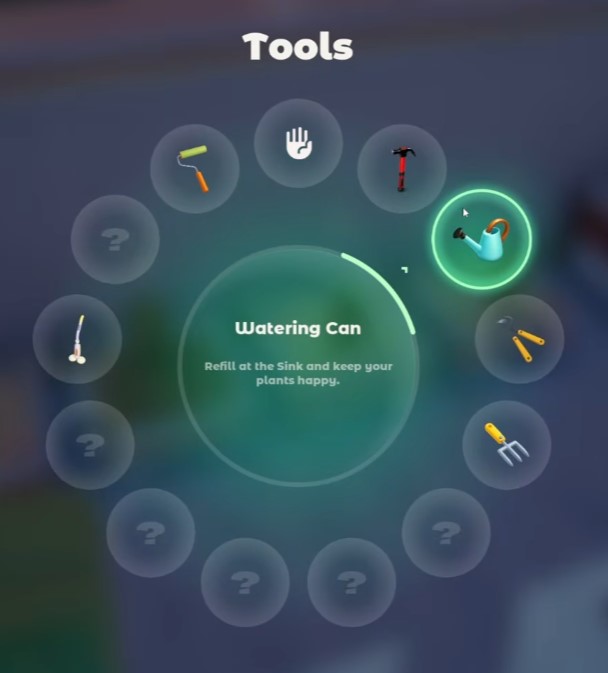
- Equip shears, harvest — ~2–3 strawberries per plant early.
- Drone → list strawberries for sale.
- Tab → Mail → accept orders immediately (timers).
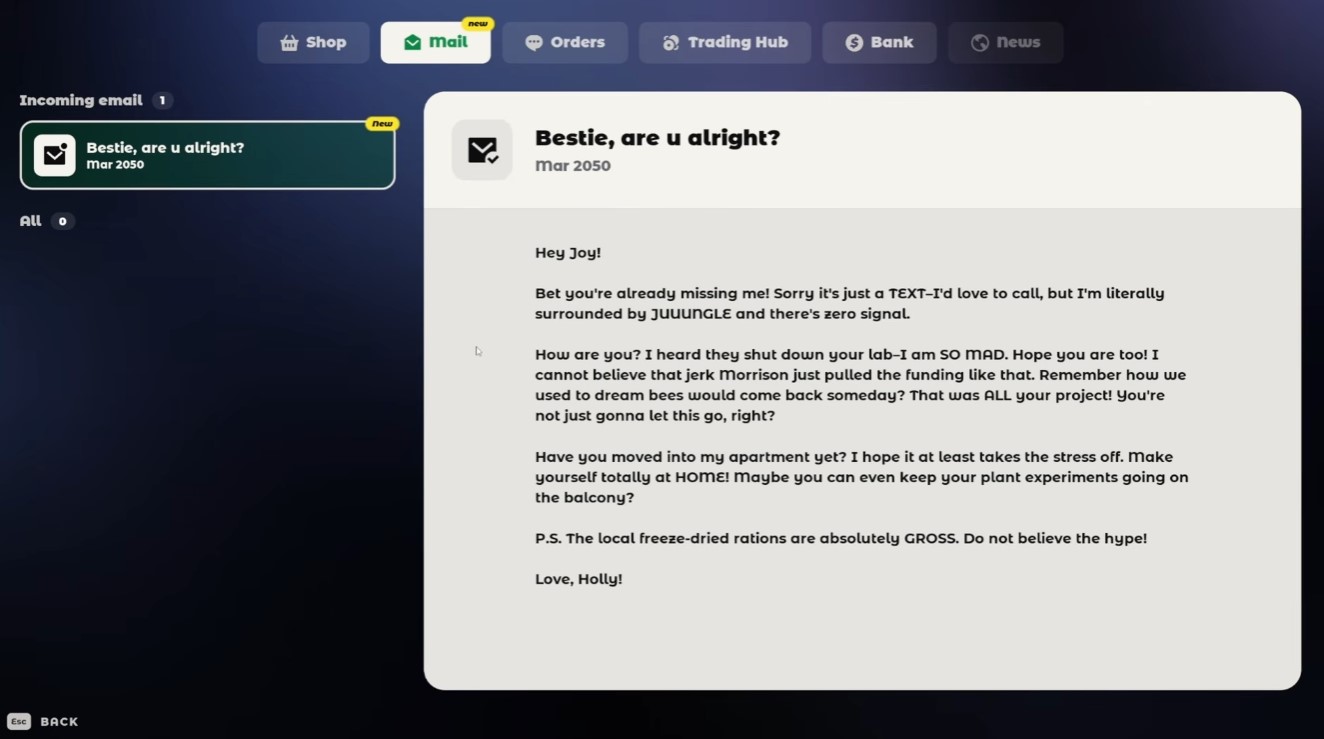
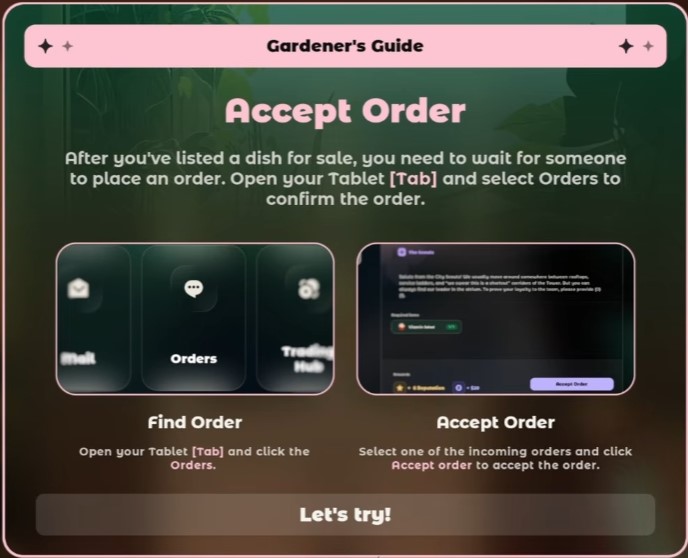
- Deliver to the customer in the atrium yourself first time — small DIY club rep bonus. Helps shop unlocks later.
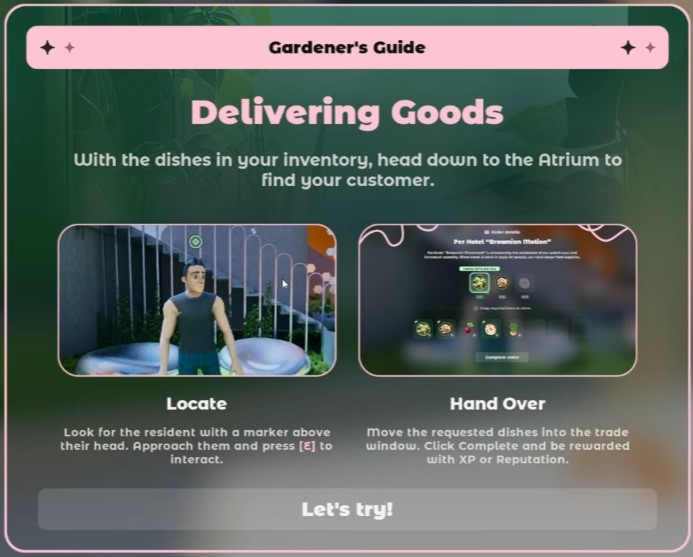
Official FAQ (Cooking & Economy): In v1.0, regular income is cooked dishes — raw crop sales are not the long-term plan (devs may add them later). Phase II here is the tutorial strawberry order on my route; Phase VI is where the economy actually lives.
Phase III — Weeds, soil, more planters
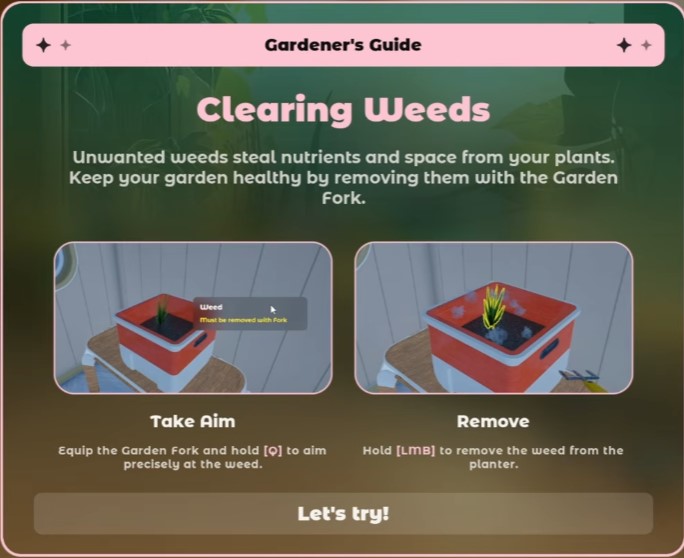
After the first sale the drone wants a bigger balcony garden.
- Buy Garden Fork — second mandatory tool.
- Fork weeds in planters. Ignored weeds roughly double growth time.
- Weeds drop biomass — crafting fuel for planters and later lab mats. Fork the row first, then vacuum the scraps in one pass — beginners tips.
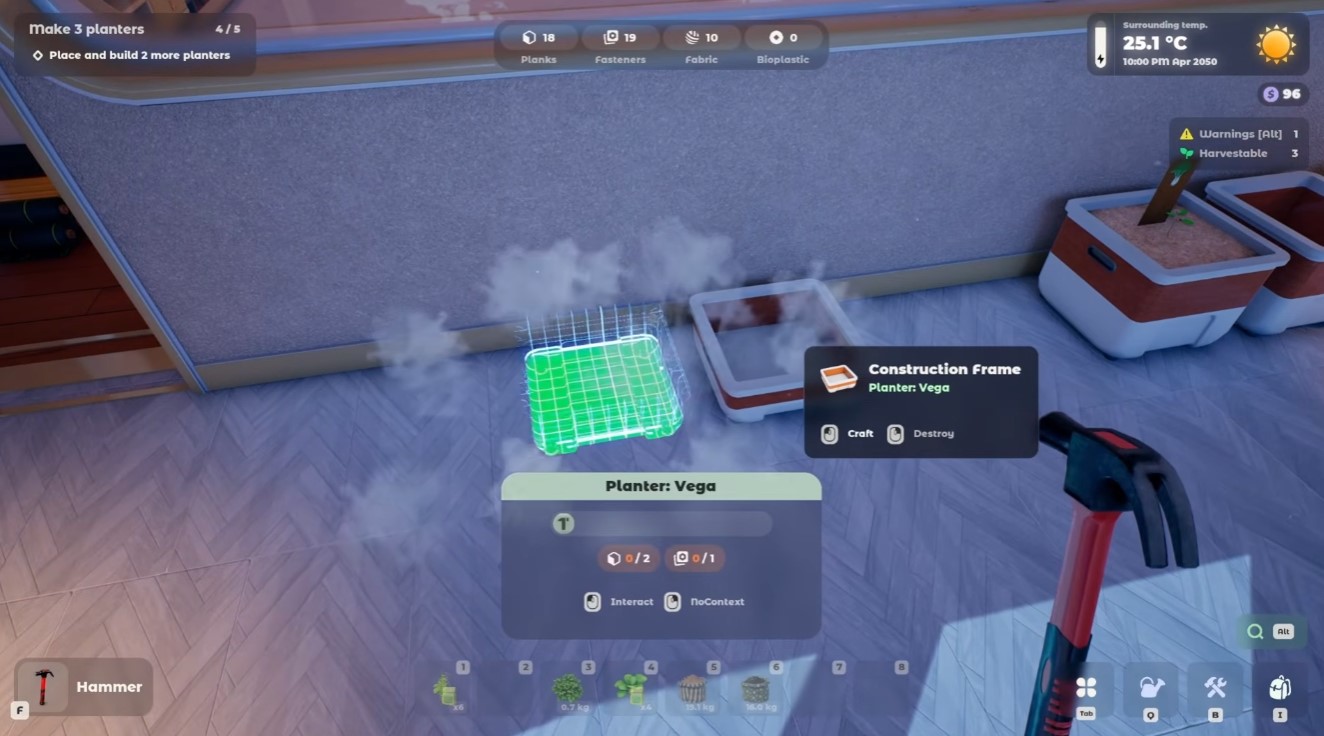
- Build menu (B) → craft planters (biomass + small cash).
- Fill with the right soil mix (compost / sand / clay) — read seed description or nothing germinates.
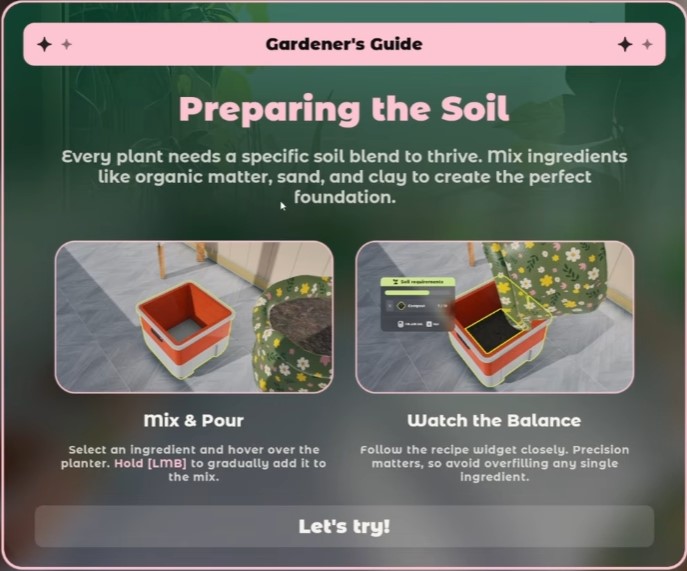
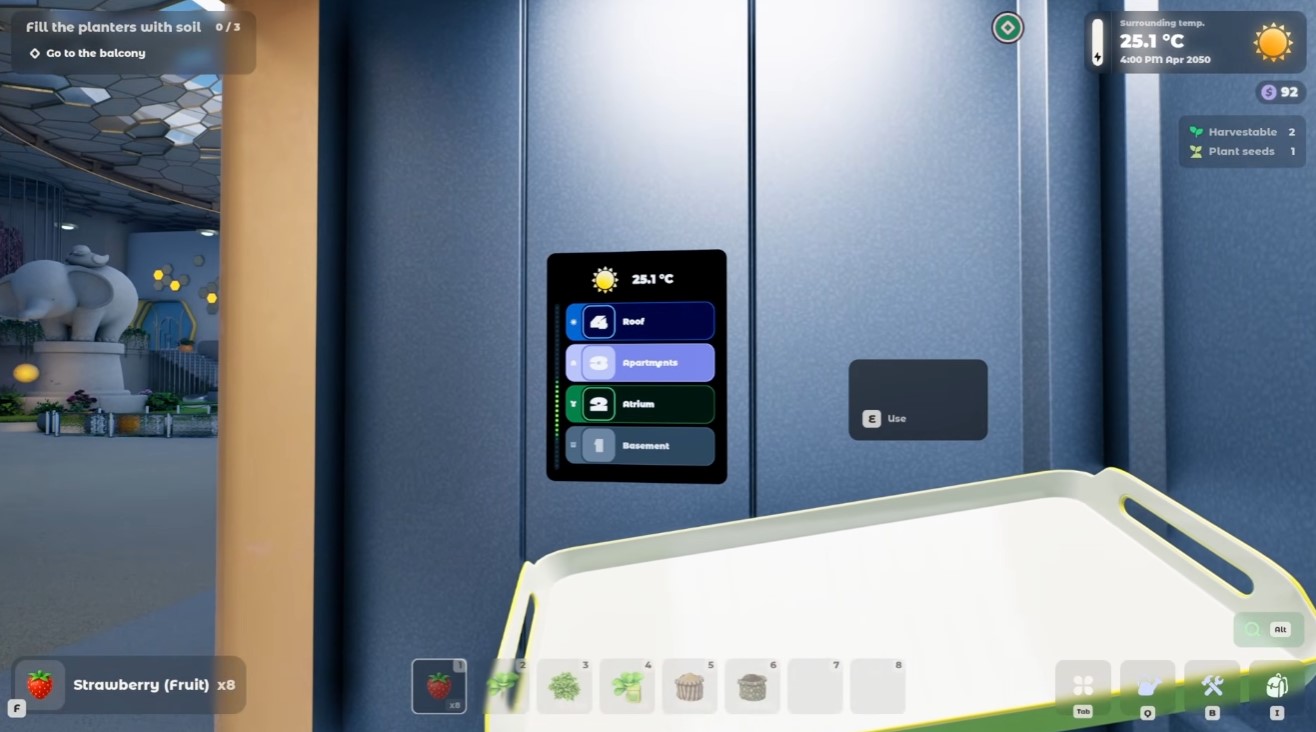
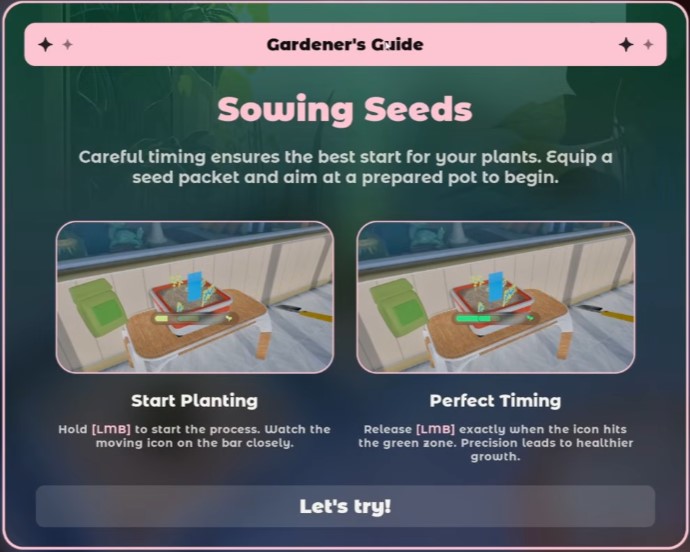
Official FAQ (Gardening): Soil simulates seven components (compost, sand, clay, perlite, coco coir, peat, plus one hidden type) with NPK, aeration, water retention, acidity, diseases, and fertilizers. Real-world mix knowledge helps — devs say if they tried it IRL, it’s probably in the game.
Do not craft more than two extra planters yet. You need $50 for the second-room key soon. Over-expanding = maintenance hell.
Phase IV — Plant health
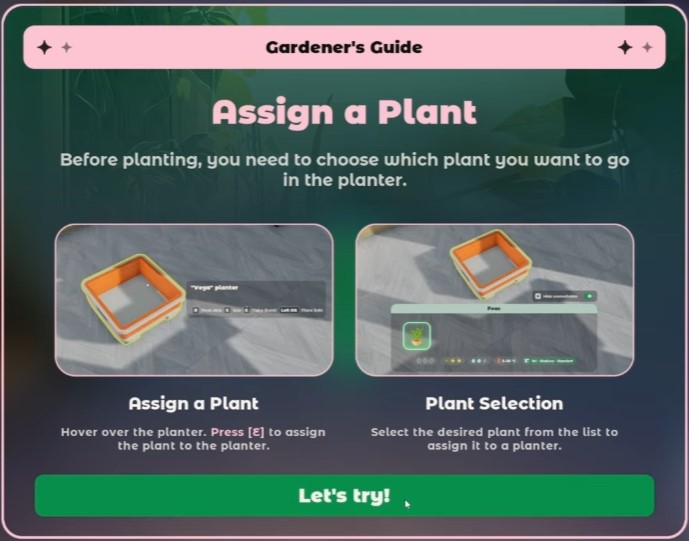
Multiple crops = some grow slow even with perfect water. Sunlight and temperature per plant.
- Alt — diagnostic overlay (
too dim,too hot, etc.). - Move pots: railing = full sun, wall = shade. Group similar needs — cuts daily busywork in half. Still too dim? A desk lamp on a small table fixes onions and other bright crops — details in beginners tips.
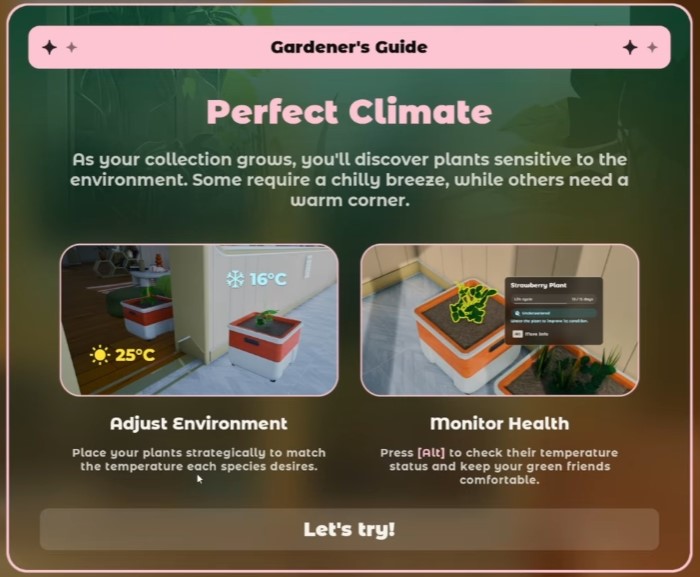
- Water on schedule; overwatering is the usual mistake — check moisture first.
- Fork new weeds (respawn every few in-game days).
- Harvest when the top-right icon says ready — ripe crops left on plant stall the next cycle.
Official FAQ (Gardening): Light = placement plus shading nets or grow lights. Temperature = room, season, and location (balcony vs roof vs indoors); heaters and AC adjust it. Growth stages: Sprout → Seedling → Mature → Wilting — early stages need weeding and condition upkeep; wilting can mean replace or use for pollinators.
Phase V — Bubbles on the roof
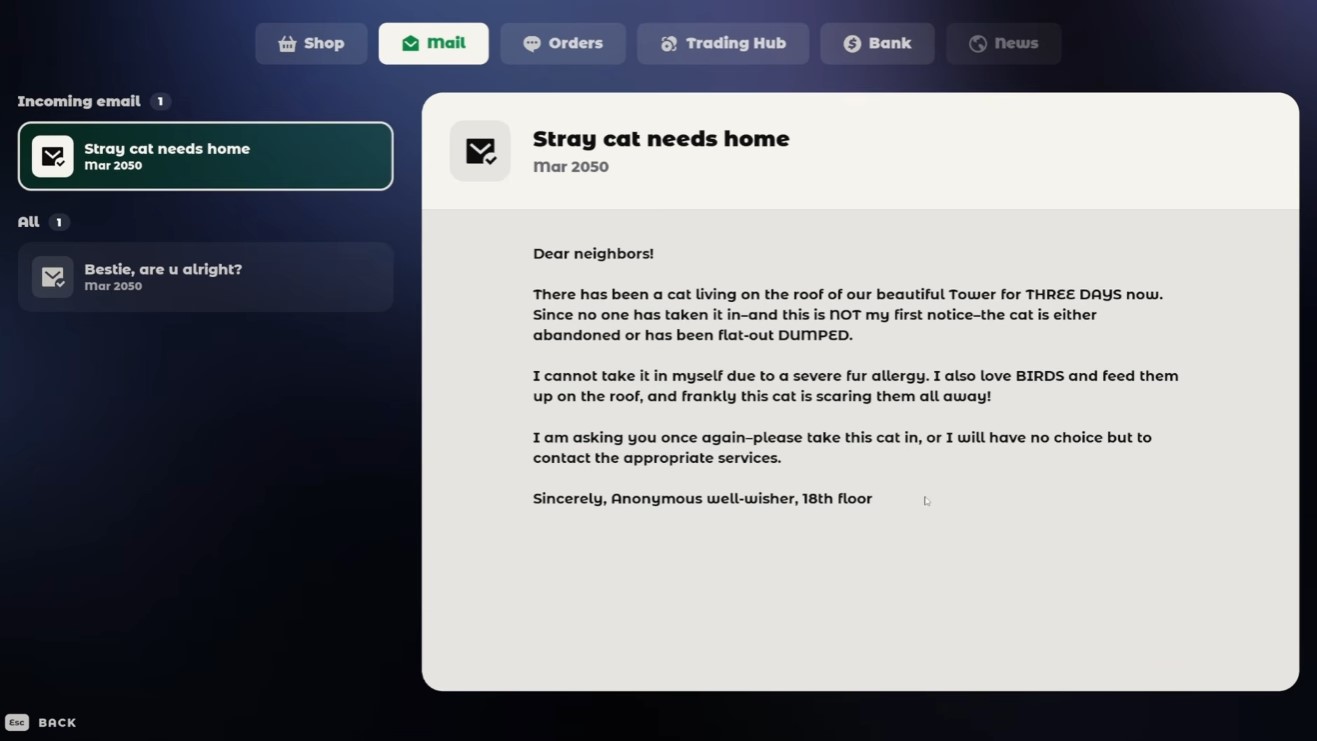
Main-route mail from an anonymous well-wisher about a stray cat. Short quest, permanent companion, small daily gifts (biomass / seeds).
- Read mail → Tab → Mail.
- Elevator to roof (hallway outside apartment).
- Interact with the cat near the edge — approach slow.
- Name it Bubbles (cosmetic; dialog uses it).
- Shop → Cat Bed ($15). Save for this before decor.
- Place bed in apartment, let Bubbles sleep — adoption complete.
Check around the bed daily for gifts.
Official FAQ (Home): The rooftop is a core grow zone — some plants only grow there. Scale stays small (balconies + roof, not a farm sim).
Phase VI — Kitchen profit
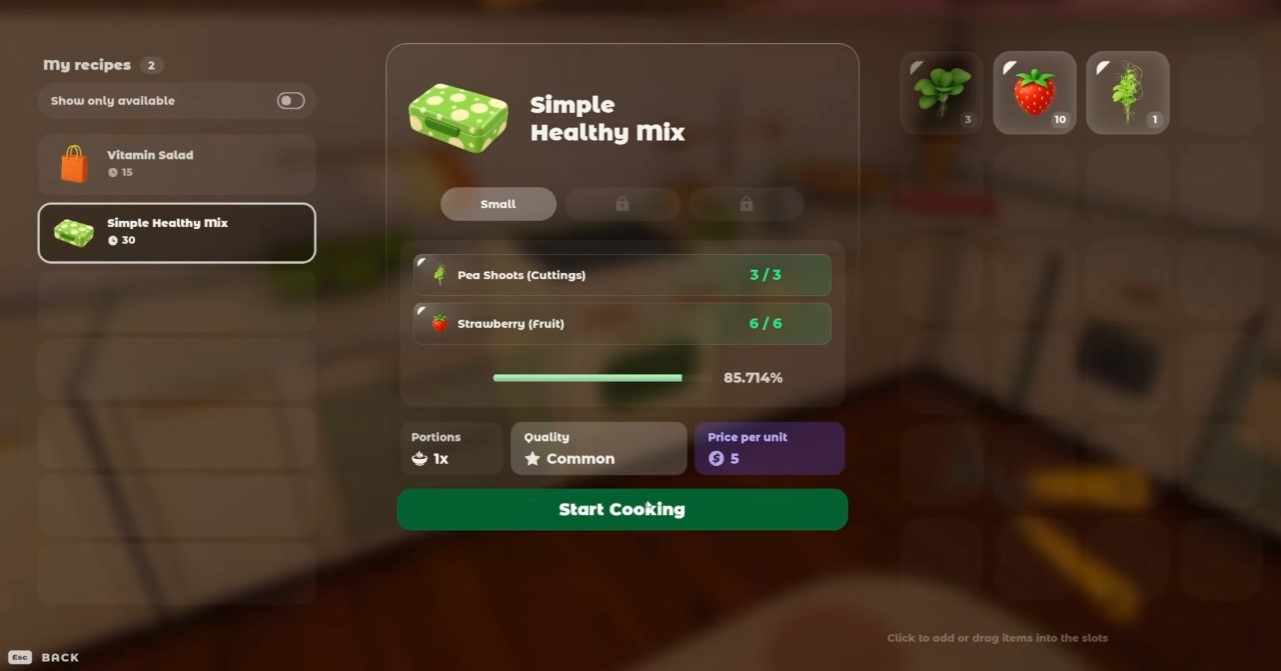
Raw produce is baseline money. Cooked dishes = 2–3× margin once you have ingredients.
- Stove → pick a recipe (e.g. Vitamin Salad). More recipes from rep levels.
- Ingredients in inventory or fridge (transfer via tablet).
- Cook — few seconds real time.
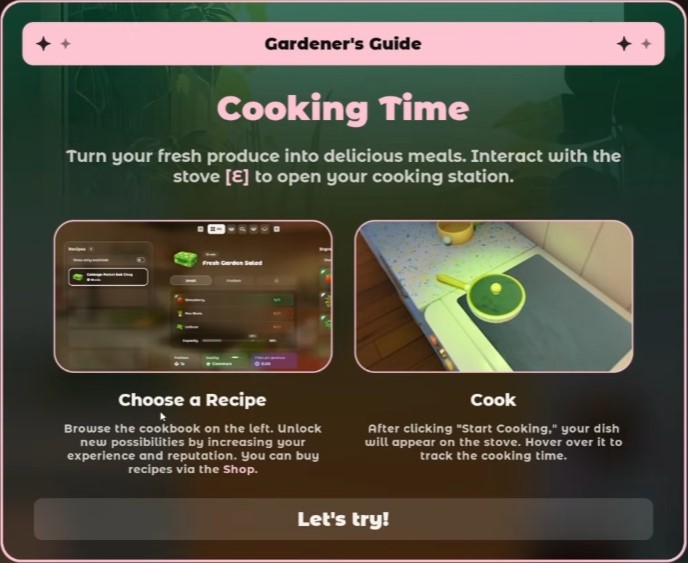
- List dish on tablet, accept orders, deliver.
My rule: once Vitamin Salad is online, I stop selling raw strawberries. One extra minute, worth it.
Official FAQ (Cooking & Economy): 40+ recipes unlock with reputation; ingredients can be fixed or flexible per recipe. No custom recipes planned. You cannot skip cooking entirely — devs kept it minimal on purpose. Crops → cook → sell → money + rep → reinvest.
Rep grind for better seeds: unlocking seeds and blueprints.
Phase VII — Second room ($50 key)
First big savings goal. Drone shifts to expansion.
- Grind orders — cooked dishes speed this up.
- Tab → Shop → Key to the Second Room ($50). No seeds or decor until you have this.
- Use key on the locked door (far wall of main room).
- Vacuum trash and dirt in the new room.
- Drone sets lab as the next objective.
You will be broke after the key. Normal — more planter space pays back fast.
Official FAQ (Home): You can expand the apartment, customize walls/floors (not layout geometry), and eventually fill indoor + rooftop with hundreds of plants. Kitchen and lab stay fixed anchors.
Phase VIII — Bank loans
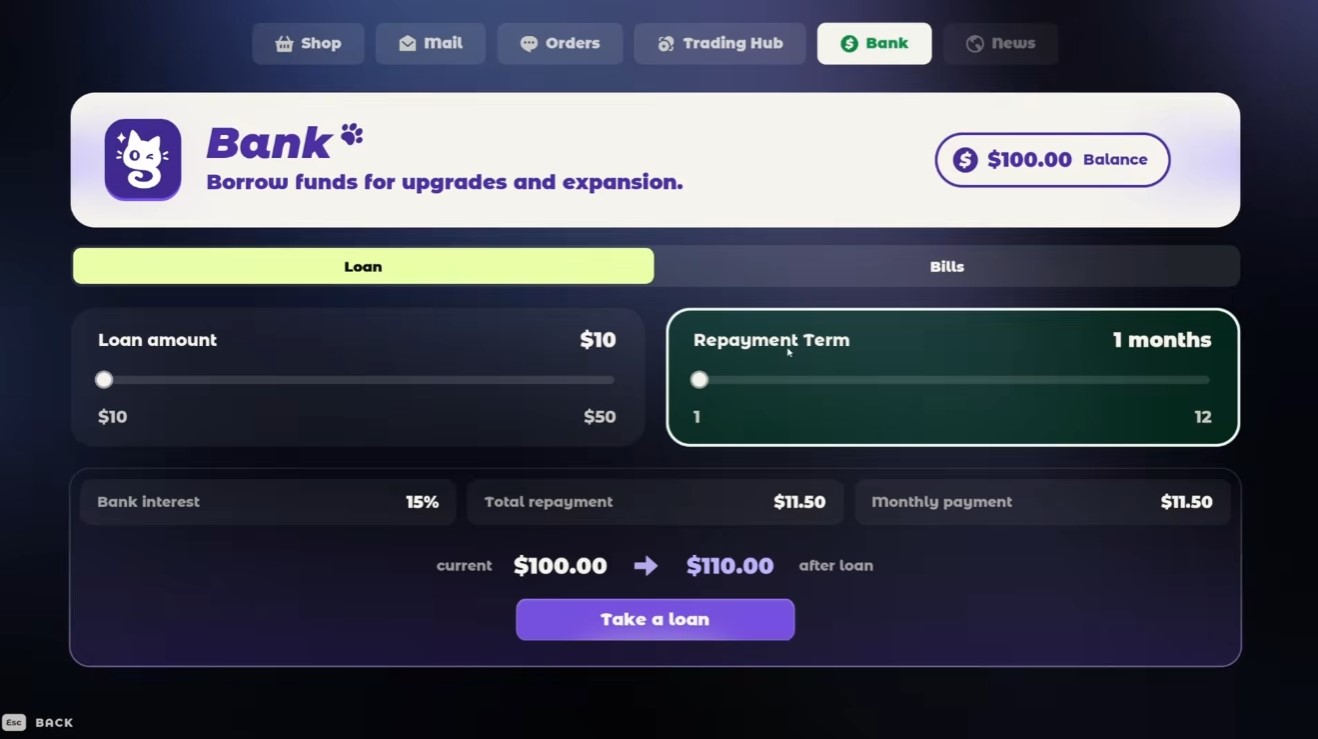
Lab mats are expensive. Bank unlocks after the second room key. Loans are a trap if you overborrow.
- Tab → Bank → borrow only what you need next (e.g. $200). Glance Bills on the same screen so power and water do not zero your balance — beginners tips.
- Note repayment deadline — penalty if you miss.
- Spend on income items (blueprints, seeds), not decor.
- Repay from orders before the timer runs out.
Safe-ish in my run: $200 loan with ~4 planters feeding cooked-dish orders. Bigger loan needs a mature garden.
Phase IX — Lab build (current endpoint)
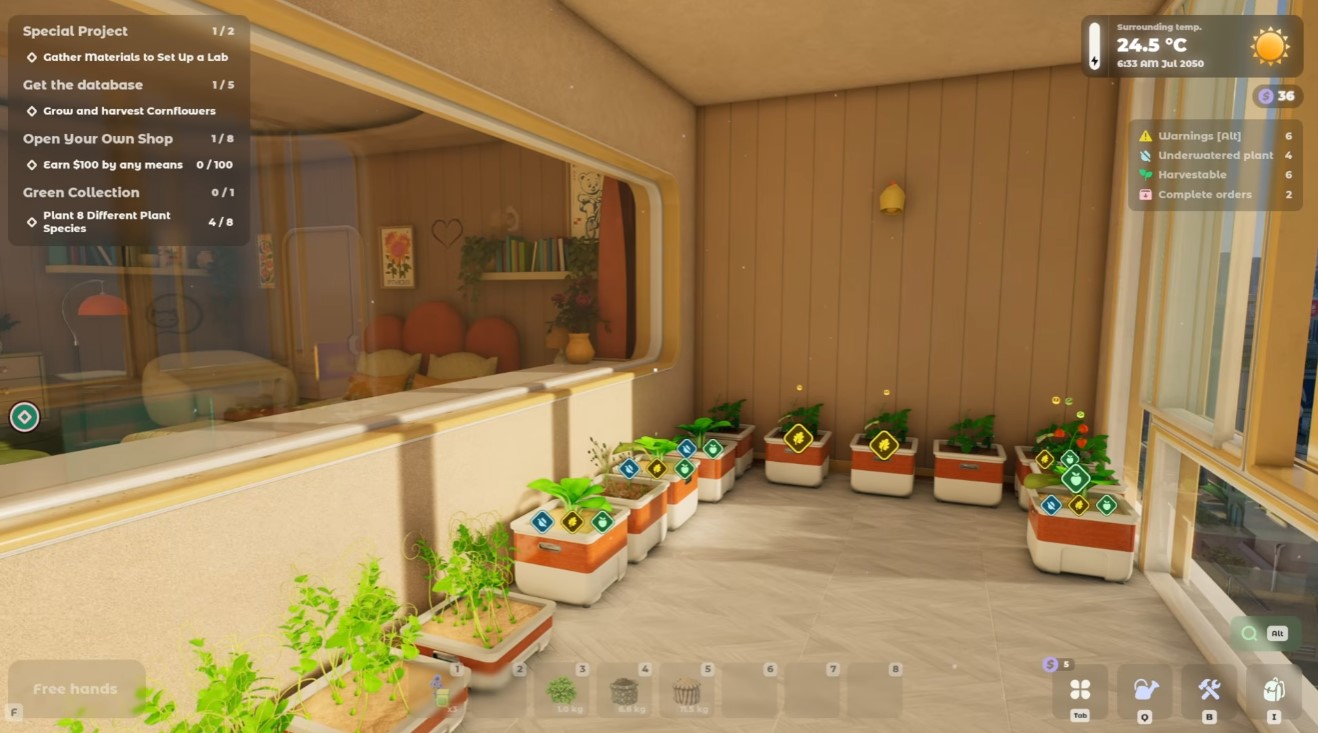
End of my route in the current early-access build. Drone gives a material list — marathon, not sprint.
- Drone → lab construction task.
- Build menu (B) — check planks, fasteners, exact counts.
- Buy or craft missing pieces (shop stock rotates).
- Hammer → place frames, then components.
- Keep completing orders for cash while you gather the rest.
Some lab parts need DIY club rep in the shop. Short on rep? Orders first — details in seeds and blueprints guide.
What is not in this hub yet
I have not finished the full game. No late-game tower floors, full lab completion walkthrough, or 100% checklist — those come when I get there. This page stops where my save stops.
Dev FAQ threads on Steam also cover plant genetics / breeding (research vs profit on harvest, luck-based hybrids) — not on my route yet.
Official FAQ source: Steam community discussions (Gardening, Cooking, Home, Time, Atmosphere threads).
Quick blocker index
| Stuck on | Go to |
|---|---|
| Tricks tutorial skips (coins, night loop, bills, etc.) | Beginners tips |
| Shop locked items / reputation | Seeds and blueprints |
| First sale / shears | Phase II above |
| Weeds / biomass | Phase III above |
| Cat quest | Phase V above |
| $50 key / broke | Phase VI–VII above |
| Loan panic | Phase VIII above |
| Lab materials / rep gate | Phase IX + blueprints guide |
Finished Tiny Eden? Find your next game.
Browse the full library or pick another hub from the homepage.
Browse all game guides →