Aggelos 2 Guide
Aggelos 2 Walkthrough: Lumen to Deluge and Good Ending
Act-by-act route — Lumen, Badu forms, overworld, boss order through Deluge, Good Ending. Tips, map, and S Rank on leaf pages.
Last updated: September 25, 2026
Start Here
Quick answer: Act I Lumen → Act II Old Castle forms → Act III overworld + Bosco → Act IV bosses (Guardian → Urkiel → mid-game → Badu) → Act V Deluge Good Ending.
If I am simply asking "where do I go next?", I start with the sections below on this Aggelos 2 hub page.
Hi, I'm Vook, a middle-aged coder who likes playing games a little too much.
Today I am walking through Aggelos 2 from my own clear — Lumen to Deluge and Good Ending, boss order included. I will miss things; this is how I routed it, not a datamined checklist. If your run disagrees, leave a comment — I read them.
You play Theelos in Lumen — metroidvania runner habit: wrong form, wrong door, wrong boss phase, reload. Then the overworld opens into a boss chain ending at Deluge. Leaf pages for depth:
- Beginners' tips — controls, 100 eggs, Lys, Challenger
- Interactive map — hover pins and coordinates (only map link on this page — use it for every Req: check)
- How to Obtain S Rank — deathless hard route
What this game is
2D action metroidvania: Angel Sword, light magic, flight, grappling hook, Angel/Demon world swap. Orbs fund shops and vial refills; mystical eggs (100 total) gate late wings; six shadow stones + Lys gate Deluge.
One rule:
Selectopens the map before every new corridor. I lost half an hour once ignoring yellow Req: triangles — the gate was ability-locked, not bugged. Cross-check pins on the interactive map linked above.
Route at a glance
| Act | Where | Goal |
|---|---|---|
| I | Lumen | Angel Sword → wings |
| II | Old Castle | NPC Badu → Angel/Demon forms |
| III | Overworld + Bosco | Hook upgrades, pendant, eggs, shops |
| IV | Boss chain | Guardian → Urkiel → Dragon…Skull → boss Badu |
| V | Finale | Side bosses optional → Lys → Deluge → Good Ending |
Boss order in Act IV matches my clear file: Guardian → Urkiel → Dragon → Astra → Spider → Zephyr → Skull → Badu (boss). Act V mops Wisp / Giant Insect / Plant / Skeleton if you have not already, then Deluge.
Everything below follows that table — act by act, with boss screenshots where I actually got stuck.
Act I — Lumen opening
Prologue and Angel Sword
- New game → opening cutscene (shadows return).
- Move right — you cannot hurt enemies yet.
Select— map on; use it immediately so Lumen does not feel like a single corridor.- Ashra returns the Angel Sword → hold
Yto absorb. X= light bolt; sword button = melee (much stronger).- Break light shields — usually two sword hits.
- Exit right toward the celestial statue.
Pickup: bracelet near the Lumen start — pink pin on the interactive map.
Regaining wings
- Interact with celestial statue → cutscene.
A= fly;RT= lock direction (may need later unlock to behave fully).- Fly anything obviously overhead now — backtracking on foot later is slower.
Next: map marker Old Castle — do not skip straight to random overworld bosses.
Act II — Old Castle and forms
Badu tutorial — Angel and Demon forms
This is NPC Badu in the castle — not the late-game boss Badu. I confused the two on my first run because both say Badu on the map. Different rooms, different red pins.
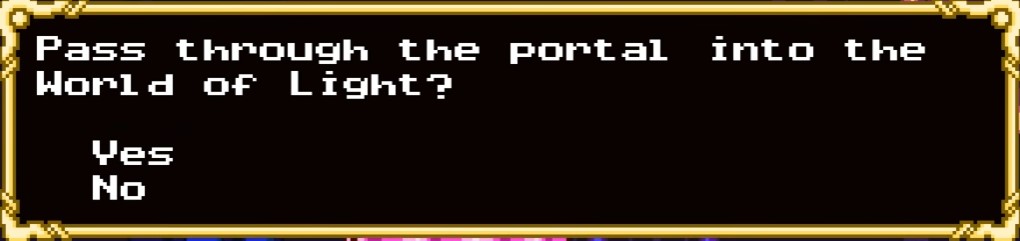
Light world — Angel form absorbs light damage; most early overworld routes live here.
- Enter Old Castle → talk to Badu.
LT+Ytoggles Angel / Demon.- Angel — absorb light damage.
- Demon — absorb dark damage; enter shadows; disarm shadow traps.
- Puzzle doors need form swap — yellow Req: labels tell you what you lack.
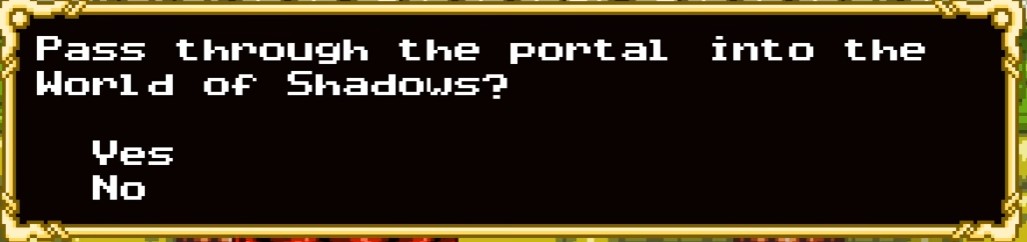
Shadow world — swap to Demon before red-door bosses and shadow traps.
Well of Hell (optional)
Side dungeon before Act III rush: pendant range puzzles, Badu's Protector (fuzzy boss + shockwaves). Same form lesson as above — good practice if Shadow World feels opaque.
Once forms click, the map stops feeling like a single corridor — Act III is where I started treating Select as a habit, not a panic button.
Act III — Overworld and Bosco
Explore the overworld
After Lumen + forms, the map opens wide:
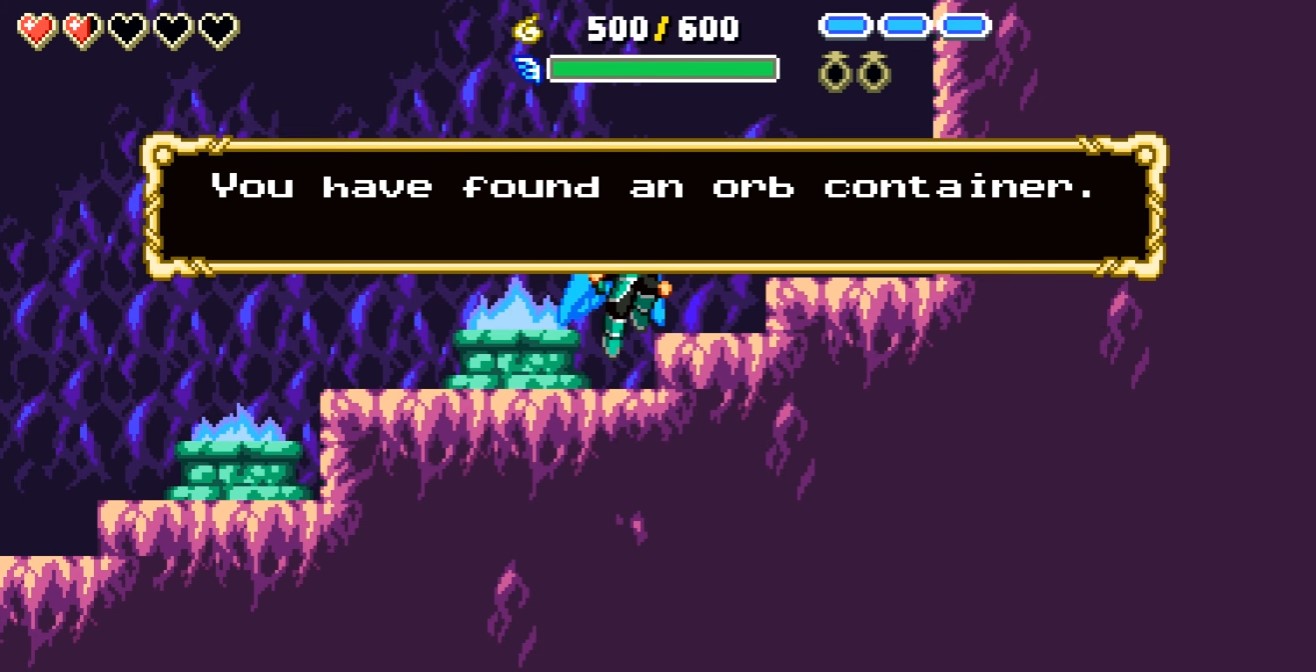
Orb container — grab every wallet upgrade on the route; shops and vial refills eat capacity fast.
- Start area → right → teleporter up.
- Teleport → left/down for lower-left secrets.
- Collect orb containers, vials, heart pieces, eggs on open paths — pink/yellow pins on the map.
- Grappling hook (
LB) + Thousand Sword Scroll unlock yellow gates retroactively. - Geyser — upward spell; some arrows need it.
- Beacons + safe spots (20 orbs vial refill) before long loops.
I used to brute-force sealed doors without reading Req: labels — thirty minutes per dead end. Check the triangle, grab the ability, come back.
Village of the Bosco
Hub village on the main east-west road:
- Villagers — betrayal lore.
- Shop: buy pendant early (orb vacuum range); egg, heart piece, spell container as budget allows.
- Jewel upgrades pendant.
- Alchemist — Divine Tears → skills.
- Fortune teller — vague hints.
- Egg collector — deposit eggs; 7+ triggers red reward tier.
Before Guardian, I refill vials at a safe spot and buy pendant if I skipped it — rushing the first boss without both made me orb-grind the same upgrades twice on a retry.
Act IV is the gear-check chain — same boss order as the table above. I prep the same way before every door below.
Act IV — Boss route
Prep habit for every row below: safe spot save → 20-orb vial refill → beacon outside door.
Guardian
First gear-check boss → Grappling Hook on my run.
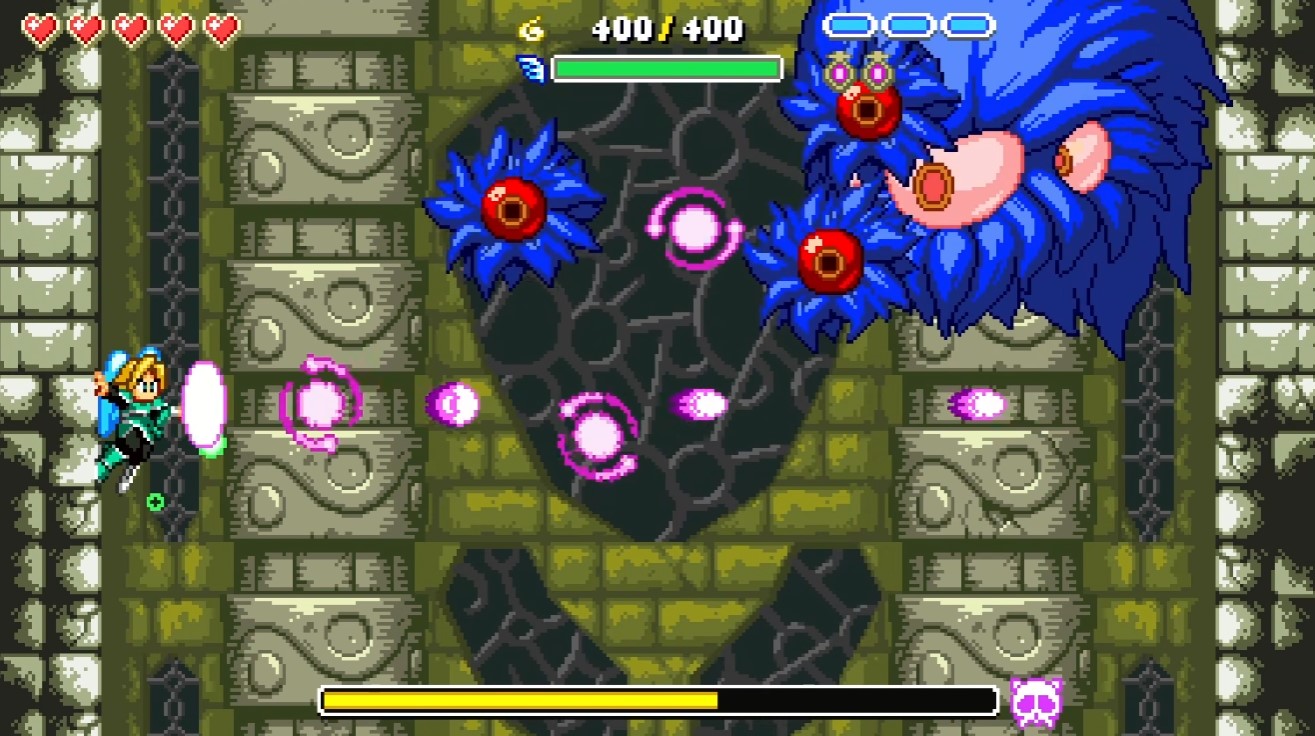
Guardian — if the arena pin is still gray on the map, you are missing overworld progress, not skill.
- Confirm yellow Req: lines are cleared.
- Sword-first damage; break shields before spamming light.
- Win → hook unlock → revisit Act III gates you marked gray.
Urkiel
Shadow World — red shiny door.
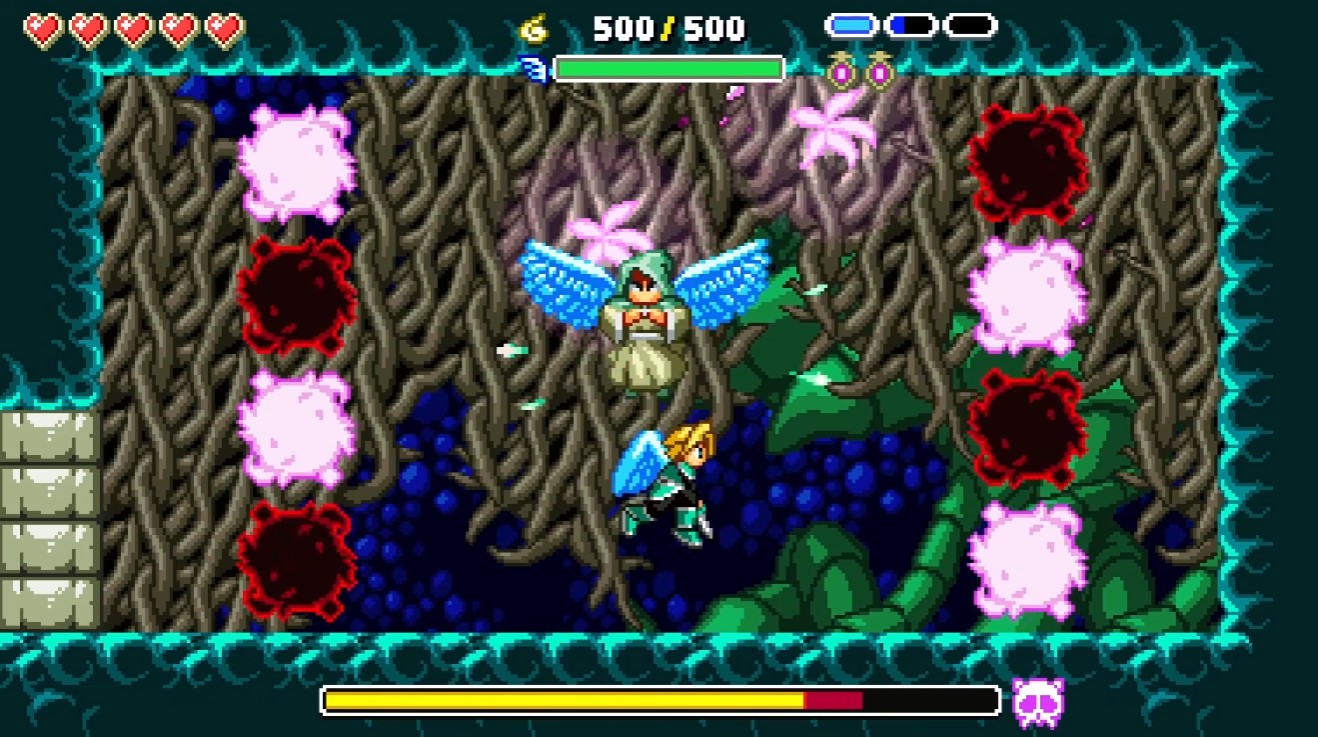
Urkiel — health bar colour shifts before big attacks; phase 2 floating object must die.
- Phase 1: health bar colour shifts before big telegraphs.
- Phase 2: destroy floating object or ability spam never ends.
- Drop: Key Fragment.
- Also spelled Erkiel in places — one fight.
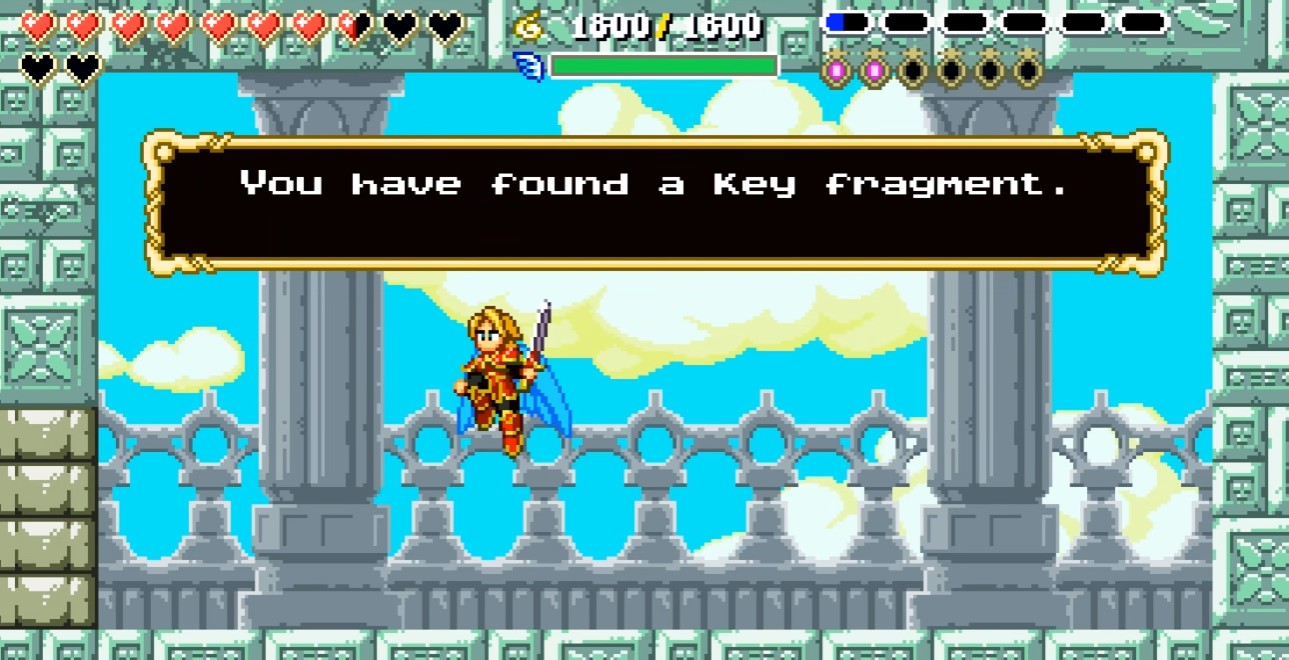
Key Fragment — needed alongside stones and Lys for the Deluge route.
I popped a vial in Demon form expecting a heal and got speed instead — wasted my “emergency heal” mental plan. Dark vials are mobility, not HP (tips).
Dragon
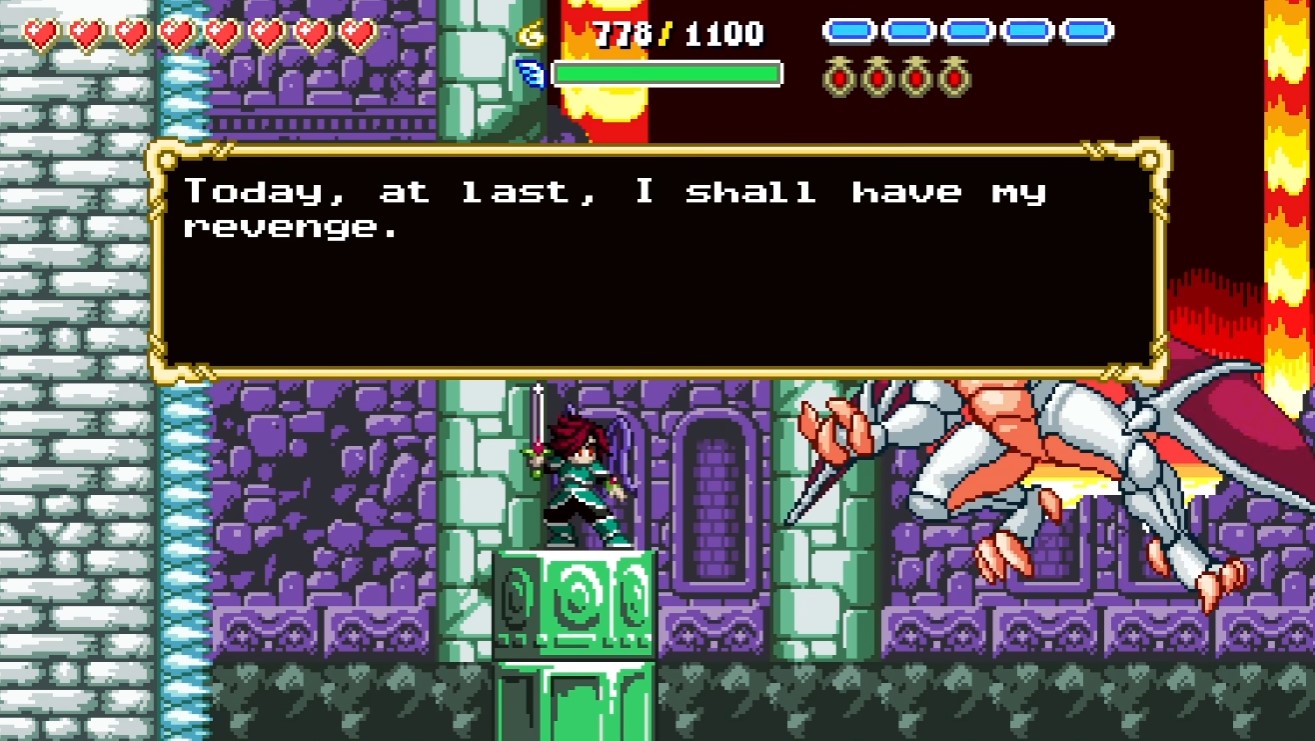
Dragon — learn jump arcs for ground fire vs air passes; short sword windows only.
Astra
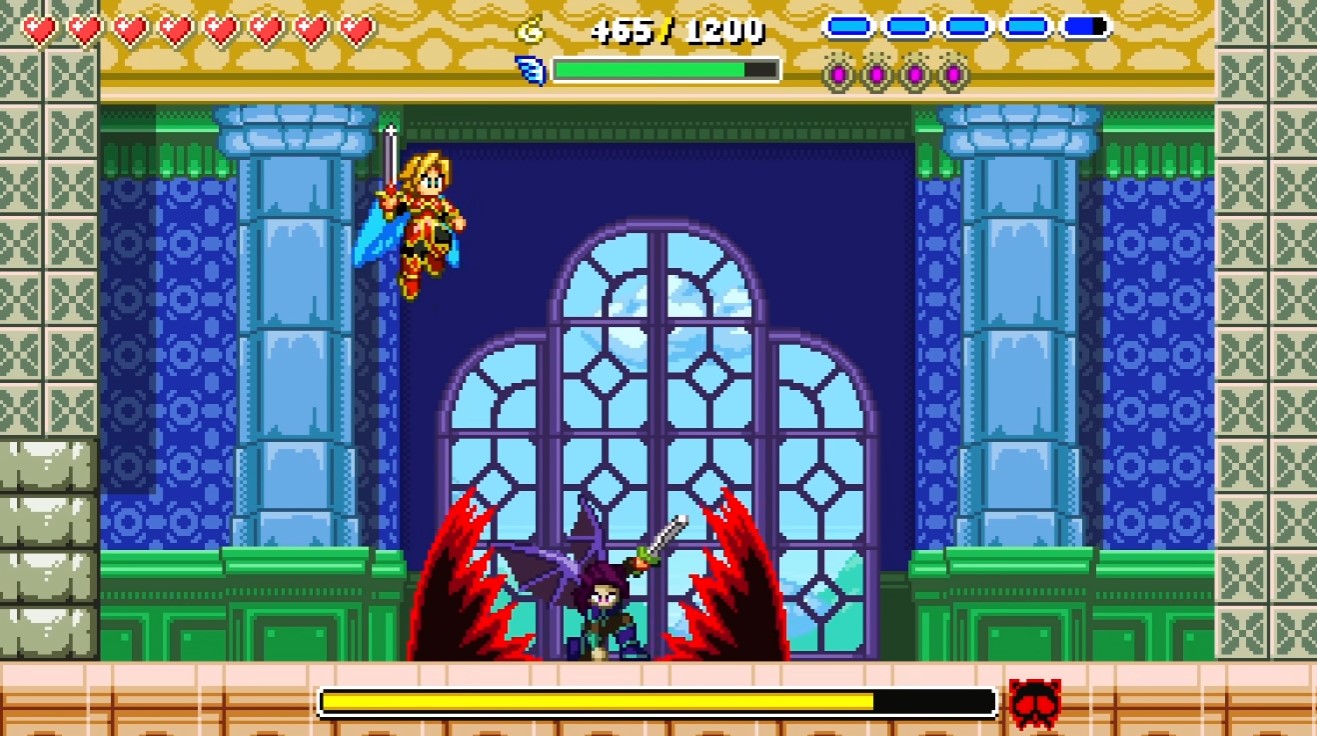
Astra — flight + hook approach; close the gap when she pauses.
Spider
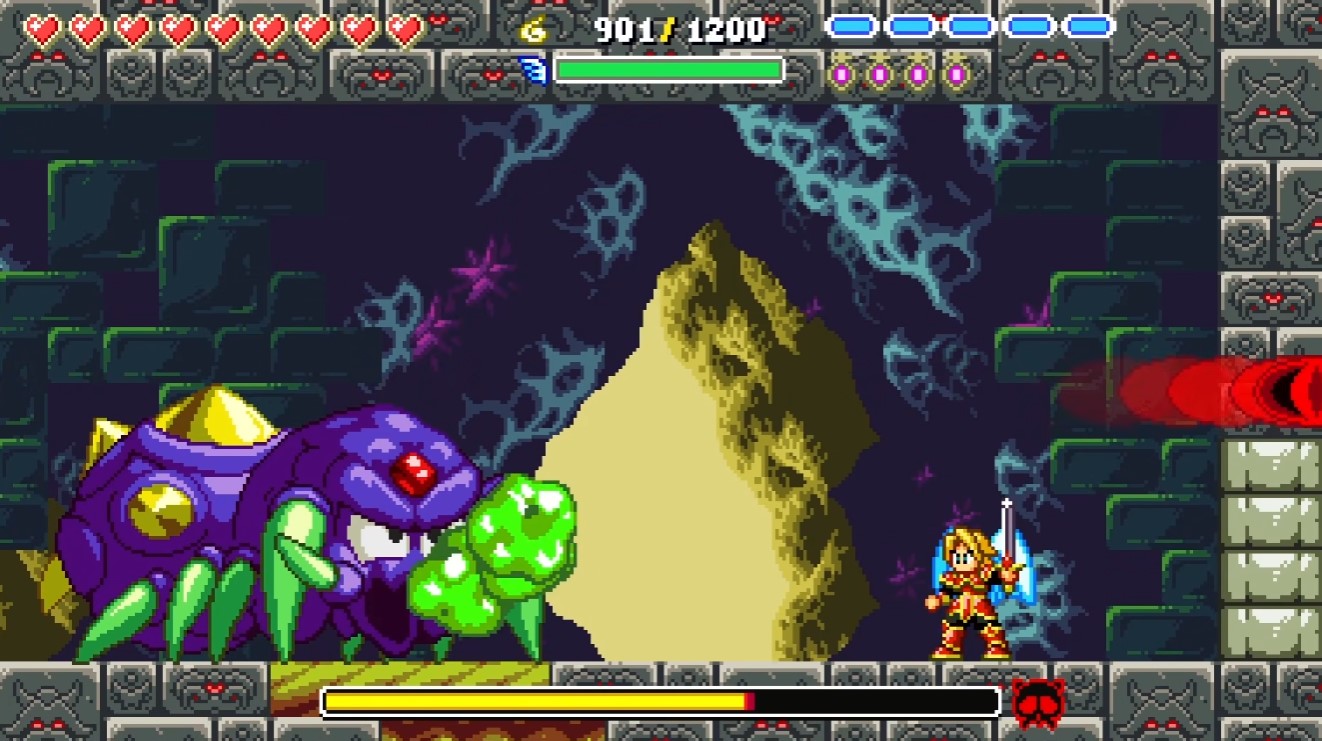
Spider — kill adds fast or webs freeze movement; stay on platforms.
Zephyr
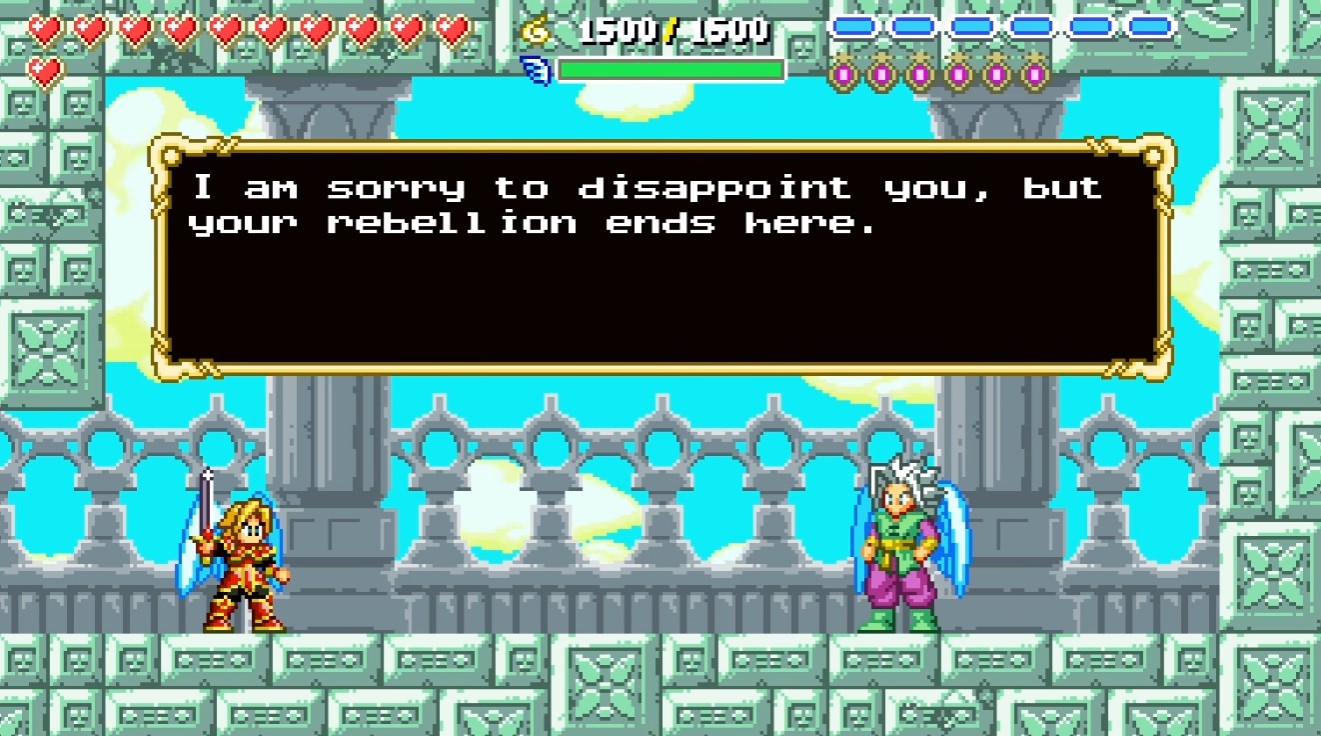
Zephyr — RT flight lock helps; attack after gust sequences finish.
Skull
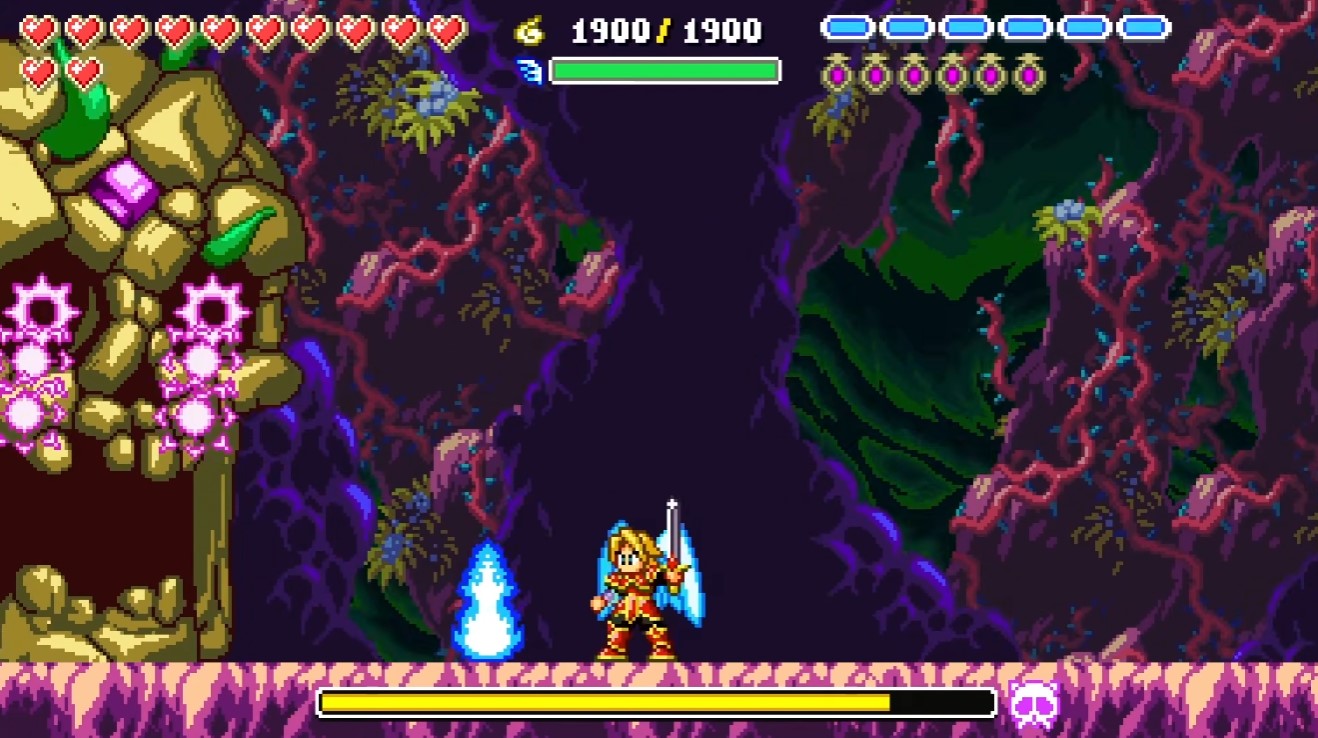
Skull — one safe corner per phase; three sloppy hits sends you back to beacon.
Badu (boss) and Bad Ending
Boss Badu ≠ Old Castle Badu — late-game red pin, not the castle tutorial.
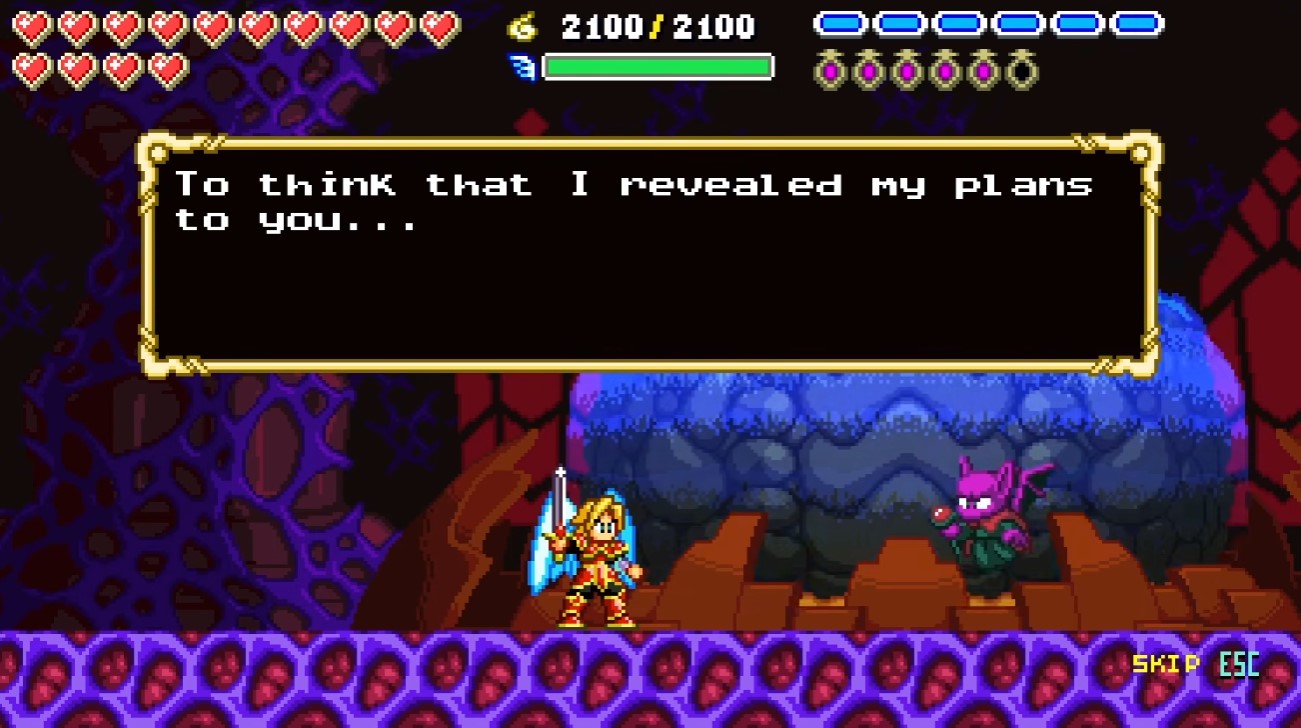
Boss Badu — form-swap if light/dark attacks alternate; default clear here is not Good Ending.
- Clear Req: gates first.
- Form-swap if light/dark attacks alternate.
- Default clear here → Bad Ending branch.
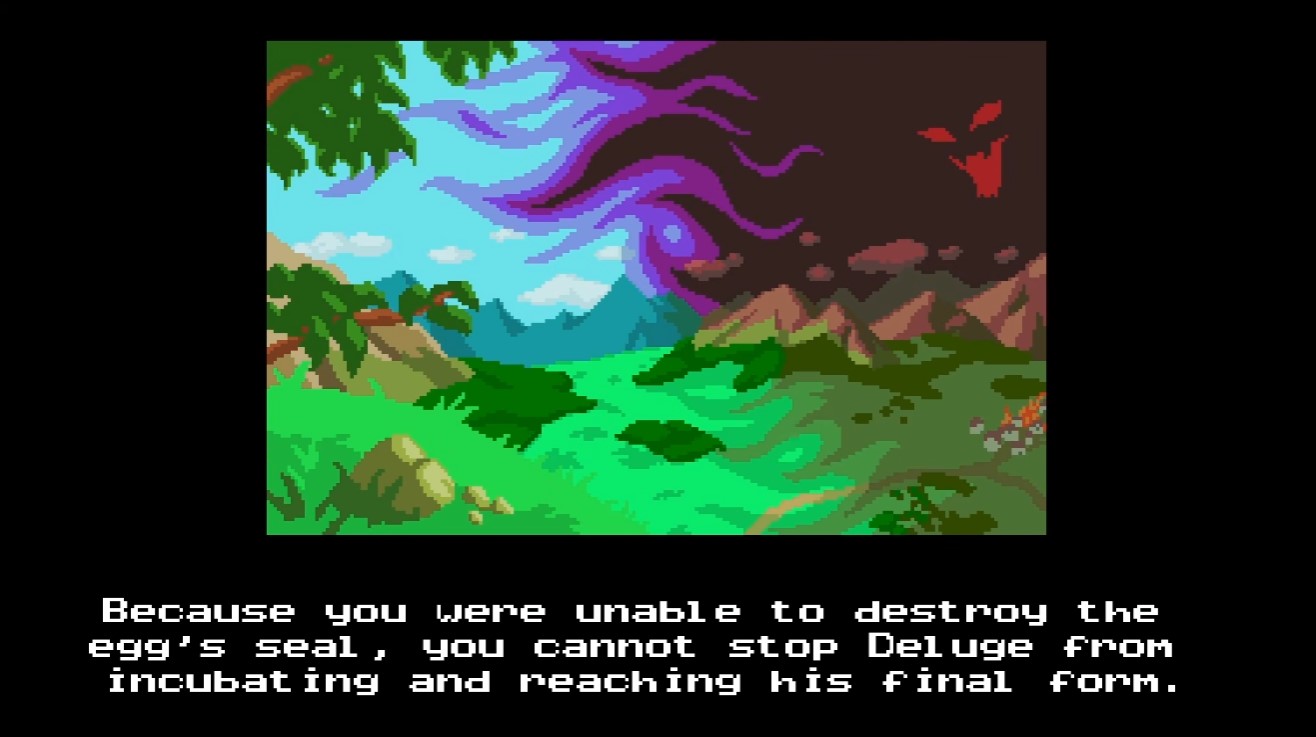
Bad Ending — counts as a game over for Challenger; replay for Deluge prep.
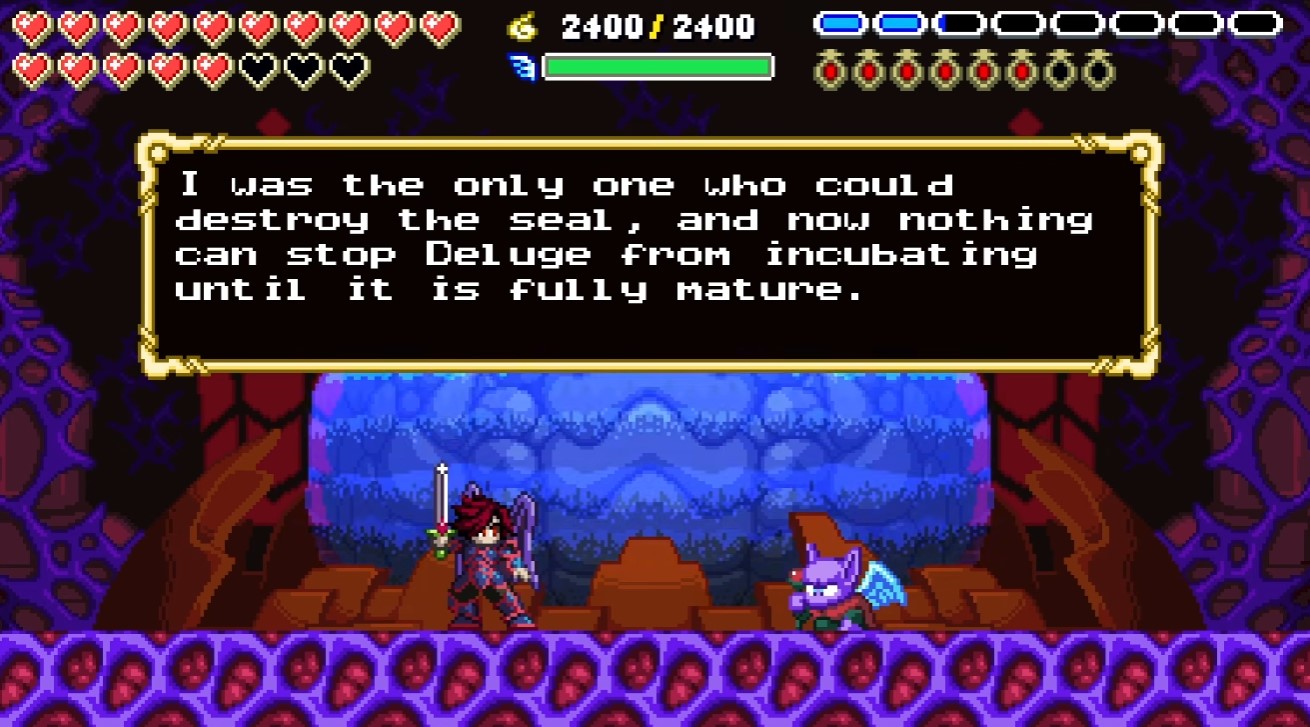
Alternate Badu dialogue — same branch lock until Lys + stones are done.
Clearing boss Badu on the default branch is not the finale — Act V is stones, Lys, optional sweeps, then Deluge for Good Ending.
Act V — Finale and Good Ending
Optional bosses (if not done yet)
| Boss | Note |
|---|---|
| Wisp | Small arena, high frequency — stay close, sword loop |
| Giant Insect | Big hitbox; hook + Thousand Sword |
| Plant | Floor spikes — do not panic-fly into ceiling |
| Skeleton | Dodge toward boss on some bone arcs; save vial for phase 2 |
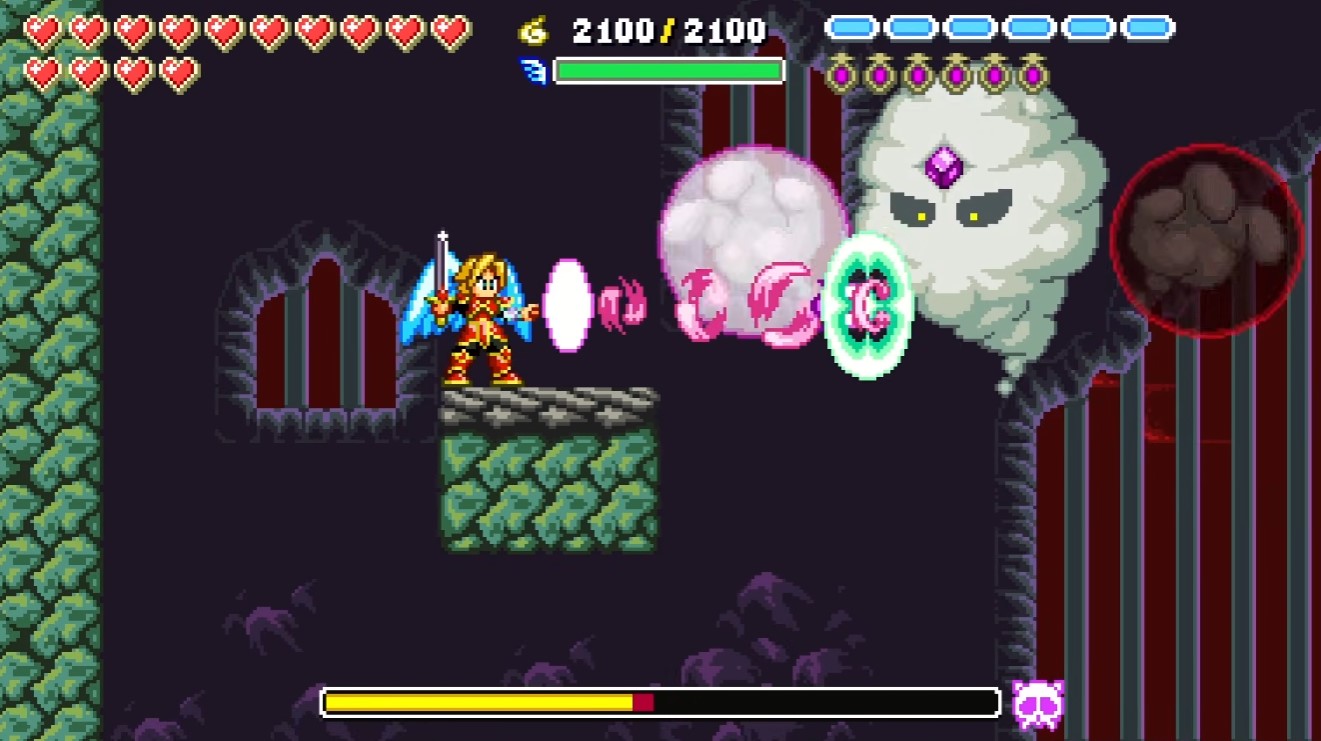
Wisp — optional sweep before Deluge if Act IV left it open.
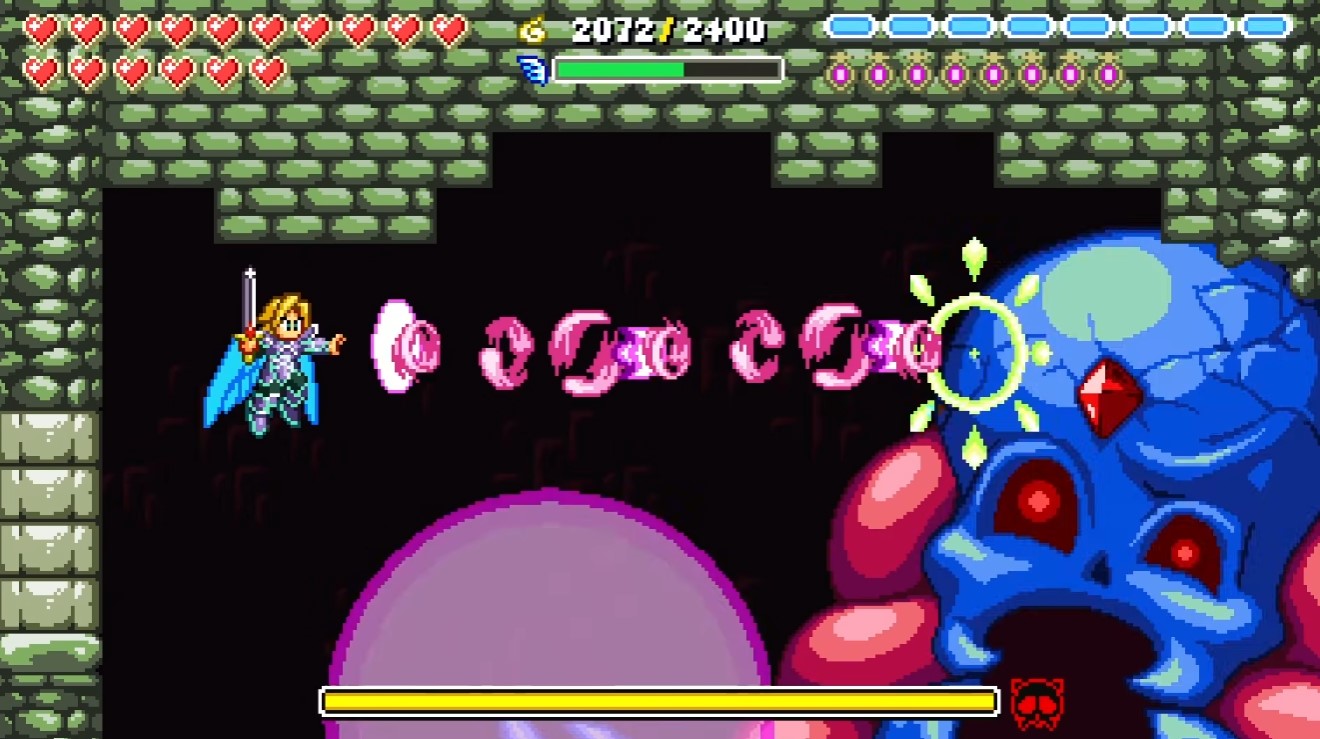
Giant Insect — hook + Thousand Sword Scroll shine here.
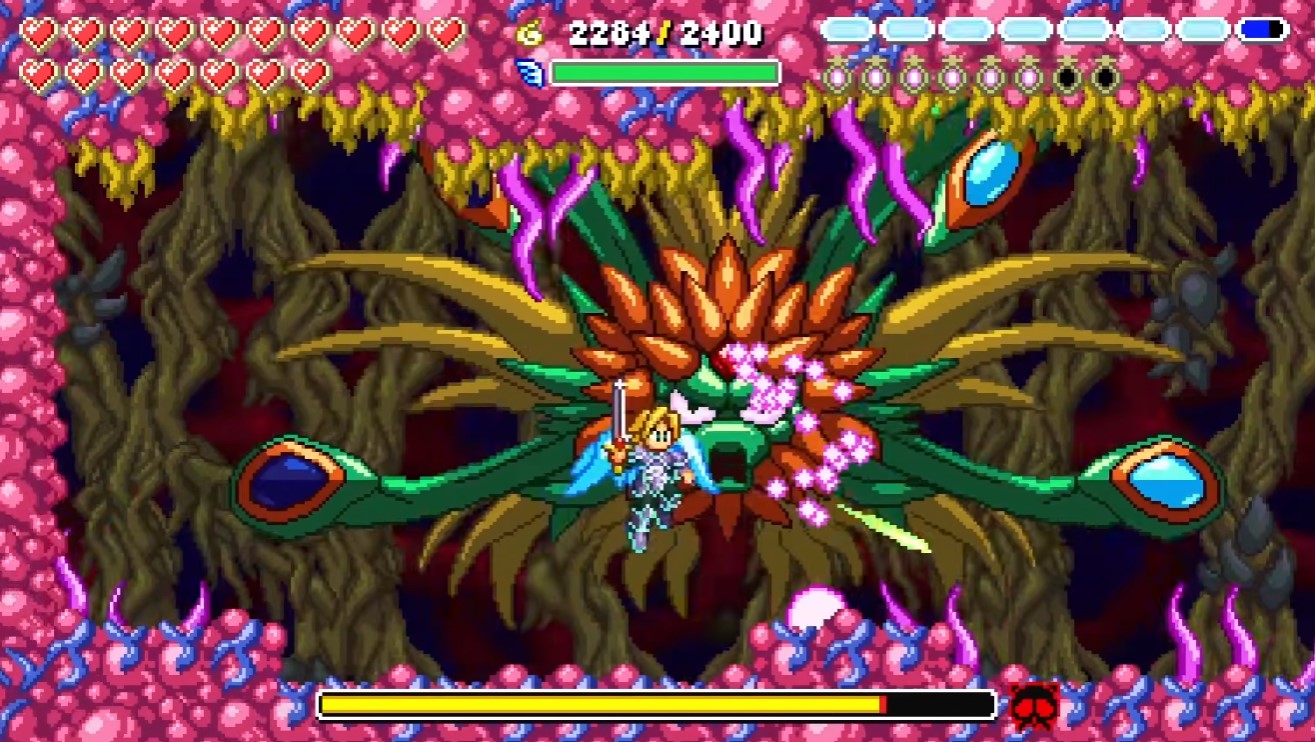
Plant — do not panic-fly into ceiling spikes.
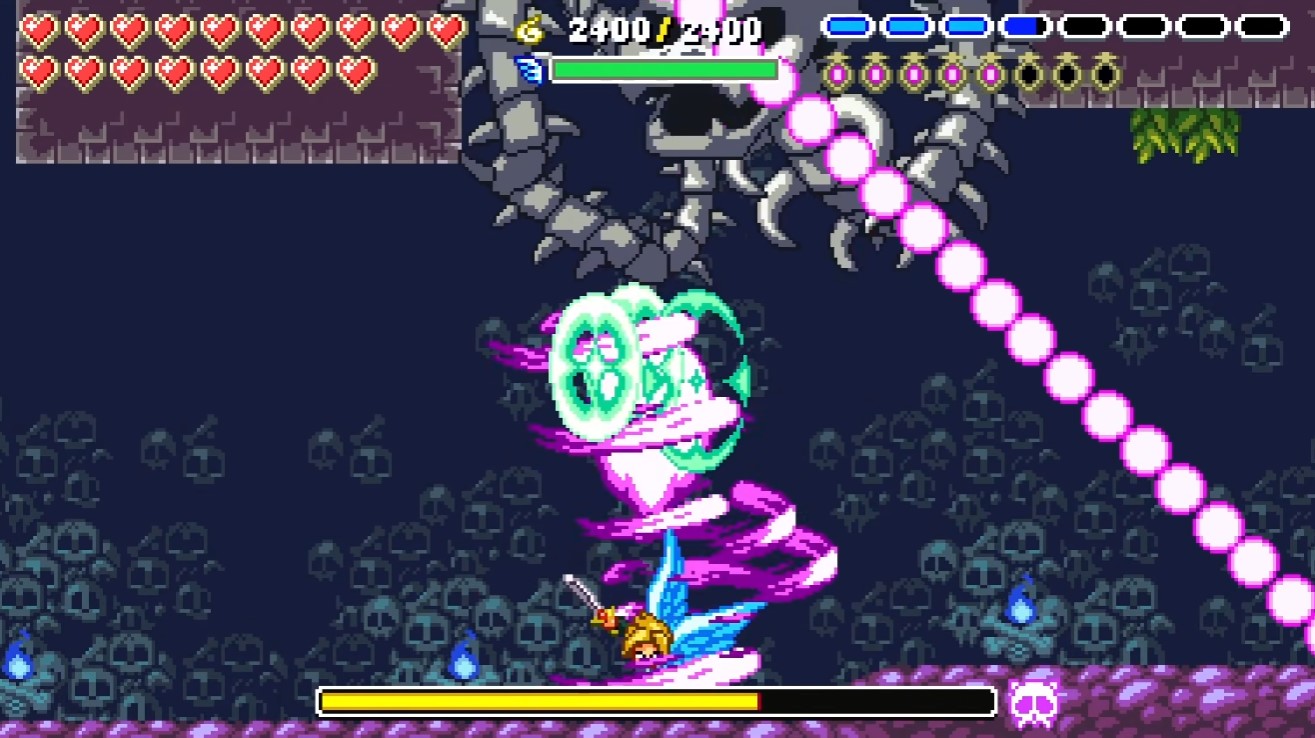
Skeleton — dodge toward the boss on some throws, not away.
Deluge and Good Ending
Cutscenes demand six shadow stones + Lys Padu — Deluge (Final) marker on the map.
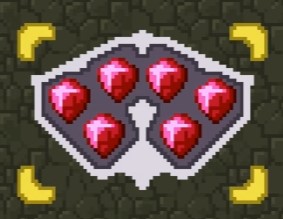
Shadow and Light stones — all six before Deluge cutscenes will talk to you.
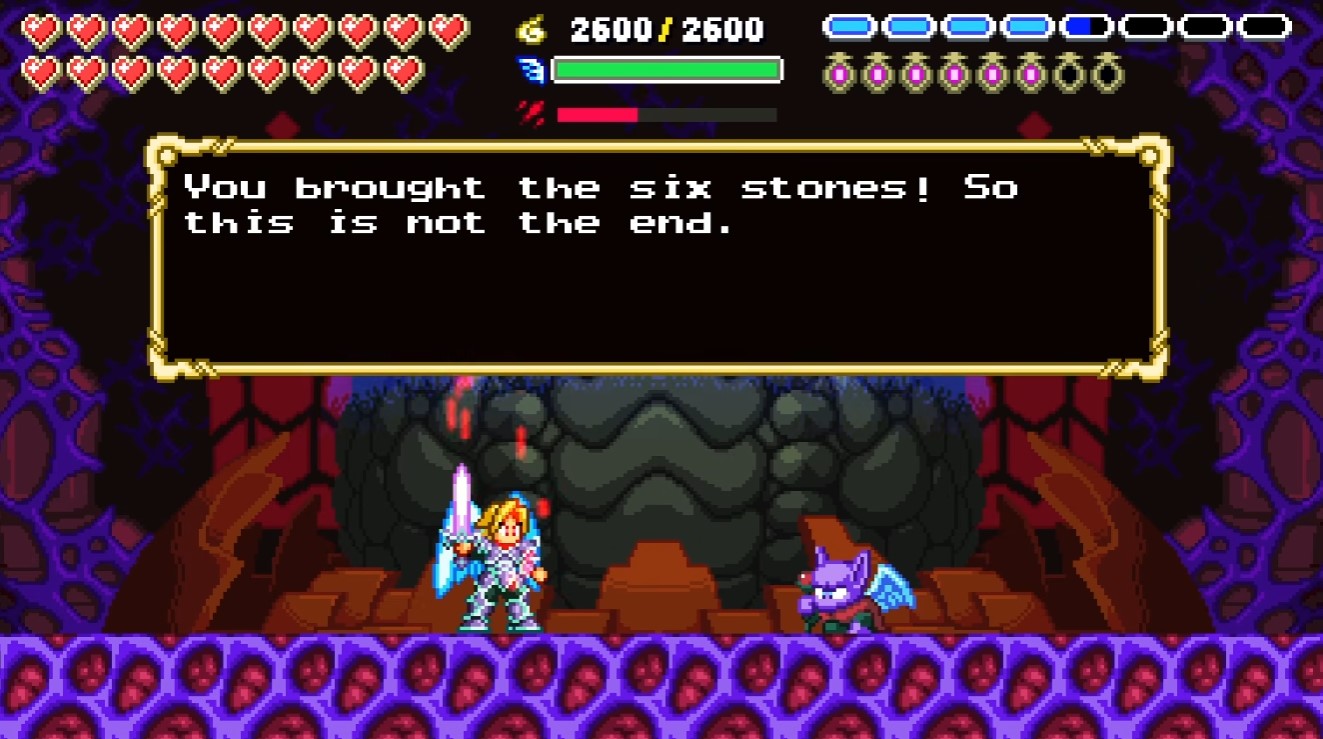
Deluge cutscenes — plays once stones + Lys Padu route is satisfied.
Lys route (if stones done but door dead):
- Light world north small room — near start / skeleton red-orb spam / Zephyr region (“heavenly room” hint).
- Meet Lys → southeast collapsed ceiling → dual switch (push blocks / co-op).
- Full steps: beginners' tips — Lys.
- Lys → Padu fight → Deluge key.
I once raced to Deluge cutscenes with stones but no Lys — Good Ending locked, Bad Ending already in the save, mood ruined. Stones alone are not enough.
Deluge fight:
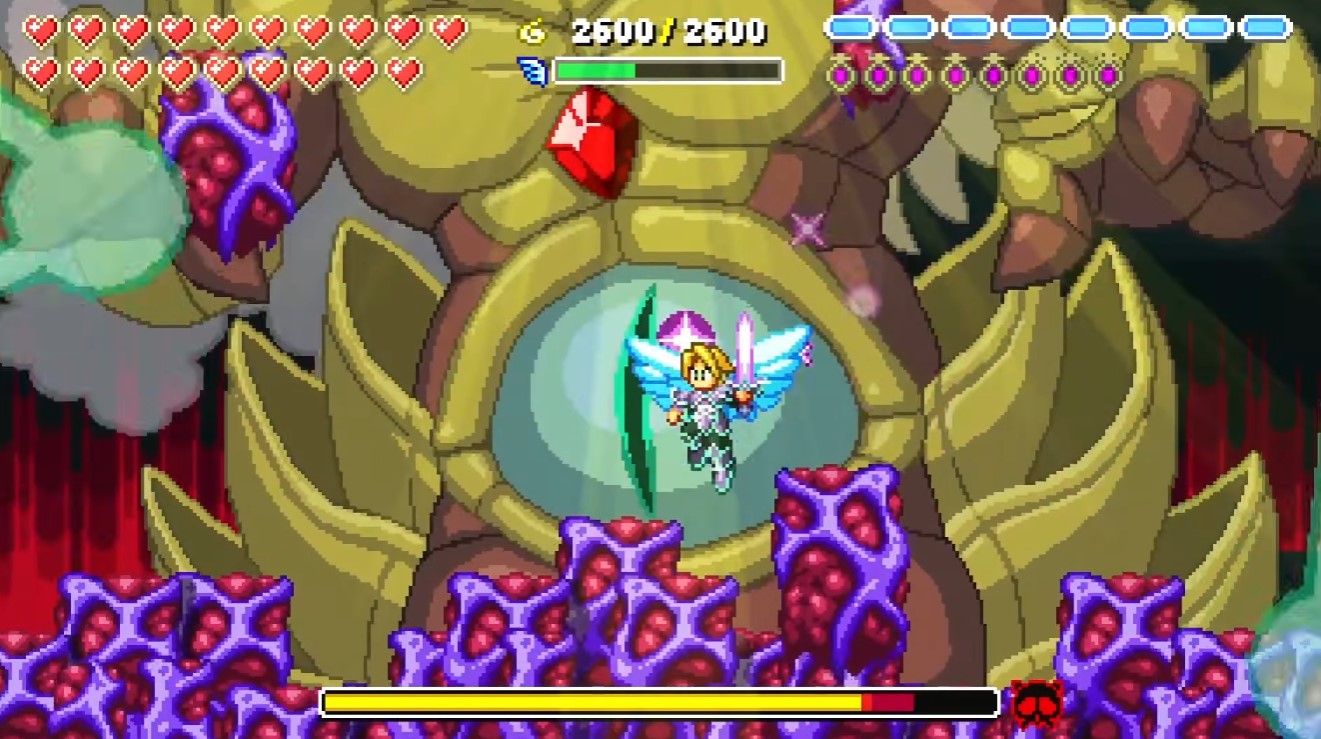
Deluge — easier than Aggelos 1’s finale; I dodge best staying in its face, especially triangles.
- Wings 3 + 100 eggs if northeast tower still blocked.
- Beacon + full vials + totem shields on outer adds if you are deathless chasing Challenger.
- Win → Good Ending; Challenger on Hard only counts here — Bad Ending does not.
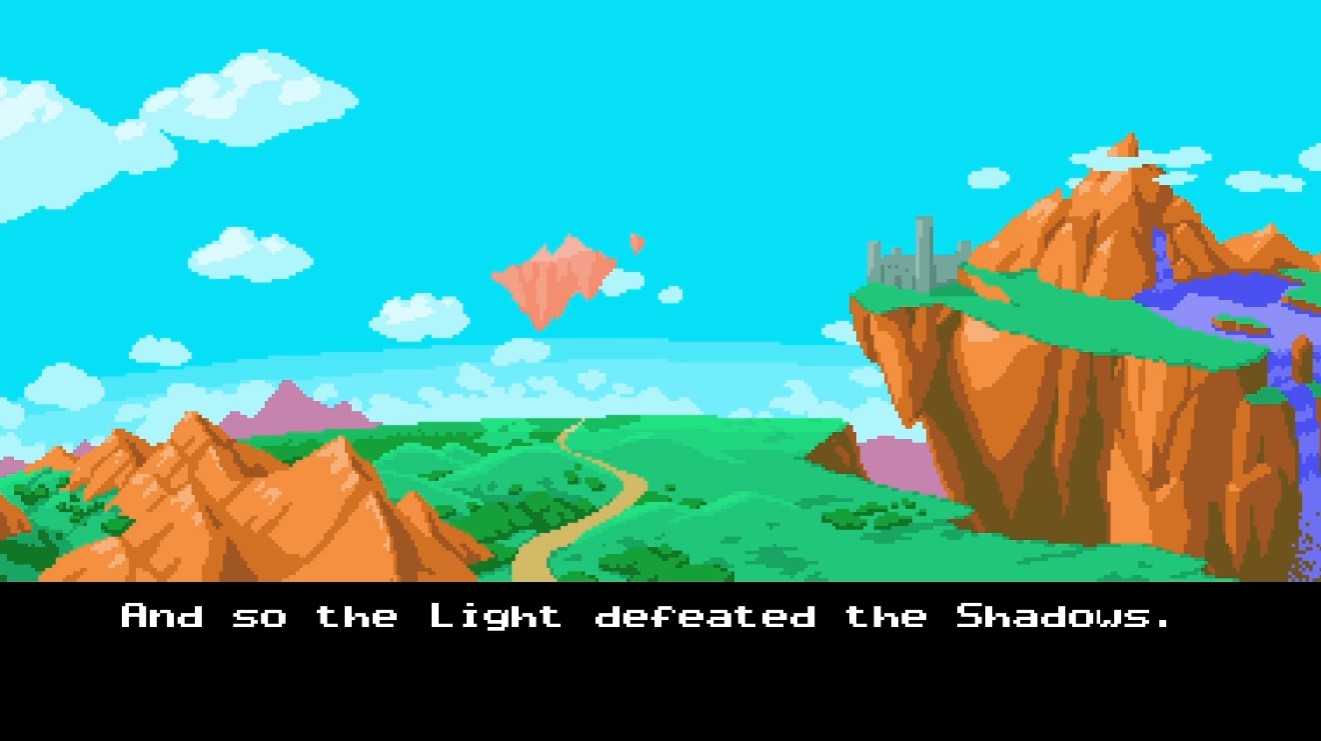
Good Ending — Challenger pops here on Hard, not on Bad Ending.
Miss a stone or Lys? Door stays shut — use the interactive map from the top of this page + FAQ.
Leaf guides
| Need | Page |
|---|---|
| Controls, eggs, Lys, ? items | Beginners' tips |
| Coordinate pins | Interactive map (linked at top) |
| S Rank speed route | How to Obtain S Rank |
Good Ending done? Second file for S Rank, then 100% egg sweep on the map.
Finished Aggelos 2? Find your next game.
Browse the full library or pick another hub from the homepage.
Browse all game guides →