Crimson Moon Guide
Crimson Moon Walkthrough — Vook's Route to Endgame
Full route from Gildenarch prologue through multi-run campaign, Abrais stones, world bosses, and Felwyl in Aegoroth. Leaf pages for bosses and systems.
Last updated: September 3, 2026
Start Here
Quick answer: Prologue → Mission I (Forsaken Streets) → Mission II (Archspire Cathedral) → run loop → Abrais stones → E'Efrae / Mahkteah → Felwyl, The Ascended in Aegoroth.
If I am simply asking "where do I go next?", I start with the sections below on this Crimson Moon hub page.
What this game is
Crimson Moon is a souls-leaning roguelike loop: mission runs, nexus gates, purification back at the hub, repeat until your build catches up. The prologue boss can delete you in seconds, the hub throws a dozen NPCs at you, and unspent souls vanish on death — but XP stays forever.
Boss strats, bounty farming, lore routes, and loadout min-max live on leaf pages linked inline. Sections 6 onward continue through the multi-run campaign to the final Dead God — nothing above §5 was rewritten for that.
Chapter order I follow:
- Prologue — Gildenarch
- Mission I: The Forsaken Streets
- Hub — Sanctus Silius (hub loop)
- Second District + Mission II: The Archspire Cathedral
- Souls vs XP (read this twice)
- Roguelike run structure
- Mission I: Ramshorn Keep
- Mission III: Elk Grove Academy
- Abrais stones + full runs
- Mission IV world bosses (E'Efrae, Mahkteah)
- Final Boss: Aegoroth — Felwyl, The Ascended
- Co-op + difficulty replays (optional)
1. Prologue — Gildenarch
Controlled tutorial disguised as a retreat. Basic blade, dead things everywhere — mechanics bootcamp, not a gear check yet.
Character + path
New game → create character (no hard class lock at this stage). Linear route to the city gate; first dead enemies almost immediately.
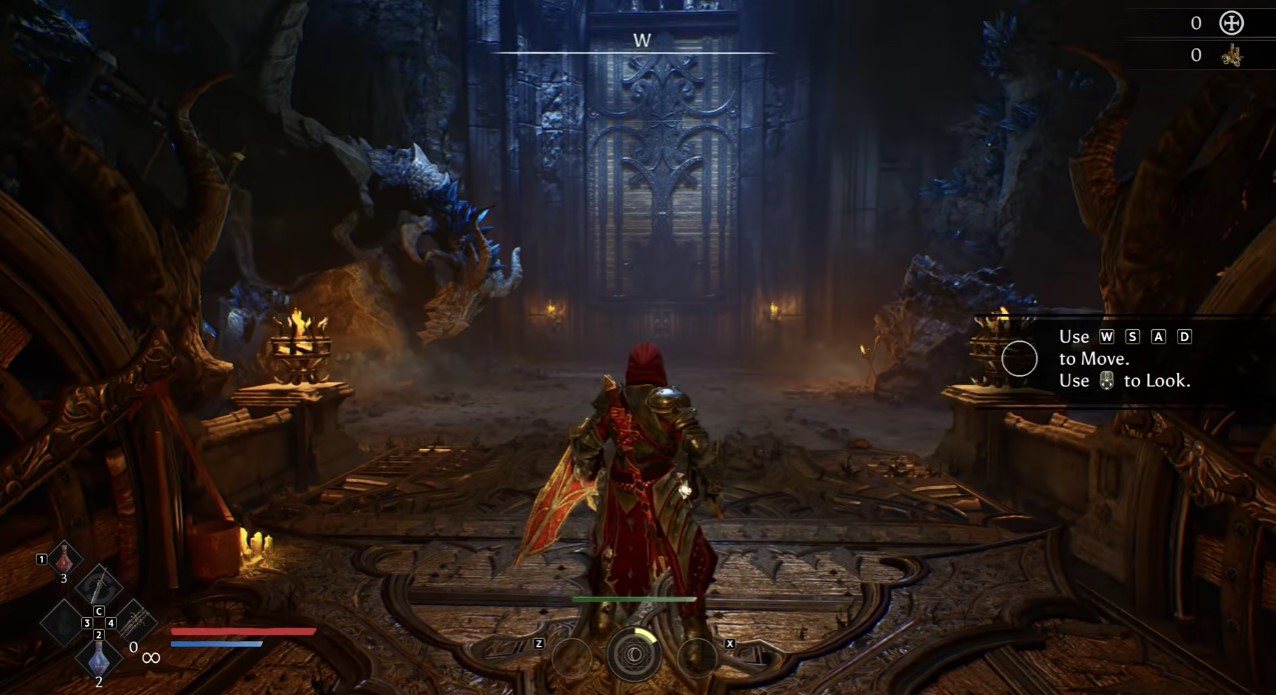
Core combat (learn now)
| Input | Action |
|---|---|
| Middle mouse | Lock-on |
| Space | Dodge |
| Right mouse | Block |
| Right click | Heavy attack |
| Q | Parry |
I don't parry an attack until I've seen it twice. Early dead are slow enough to practice safely.
First nexus gate
Glowing gate at the end of the first arena. Objective is almost always clear all enemies — gate opens when the zone is empty. Full mechanic breakdown: nexus gate objectives.
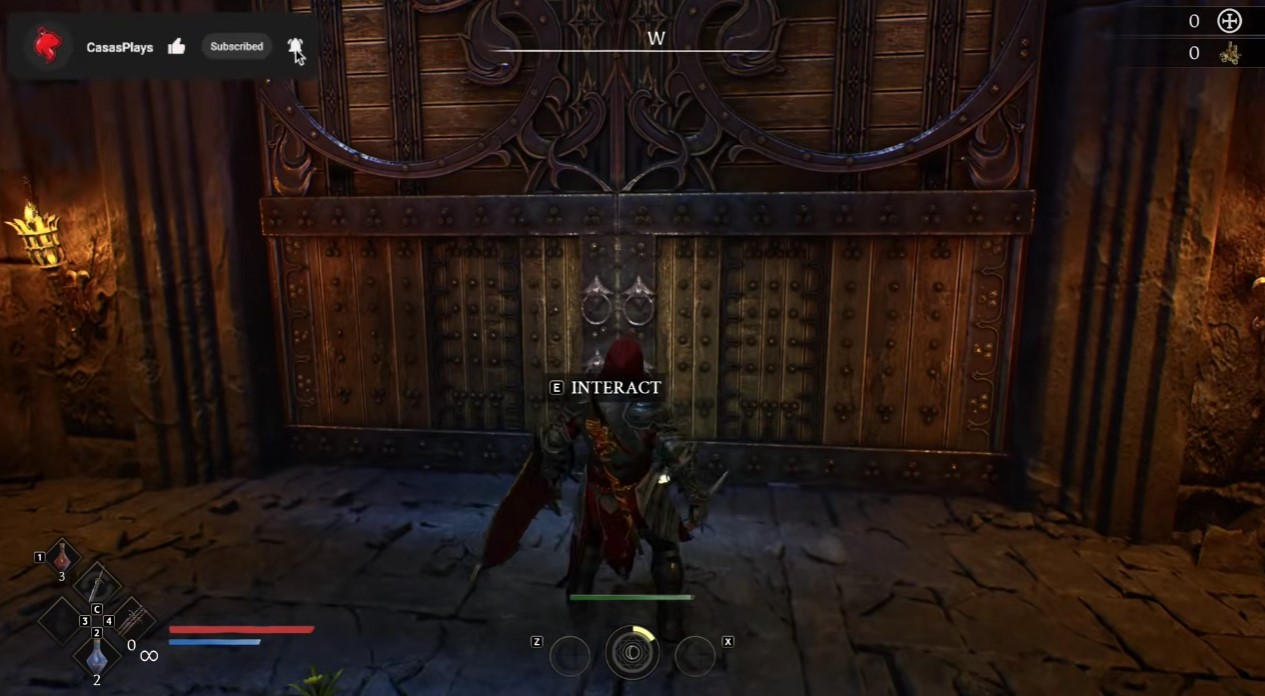
Throwing knives + backstab
Pick up throwing knives in the area — pull or finish ranged targets. Backstab: approach from behind, attack for a crit. Use on isolated enemies to save HP.
Angel Ascension + Angel Sense
- Angel Ascension (R) — damage/defense buff; pop when surrounded or before a spike.
- Angel Sense (G) — reveals hidden enemies and interactables. I leave this on rotation in new zones.
Blessed sword
Follow the marker to a fallen Nephilim, interact for the blessed sword — first real weapon upgrade for the rest of the prologue.
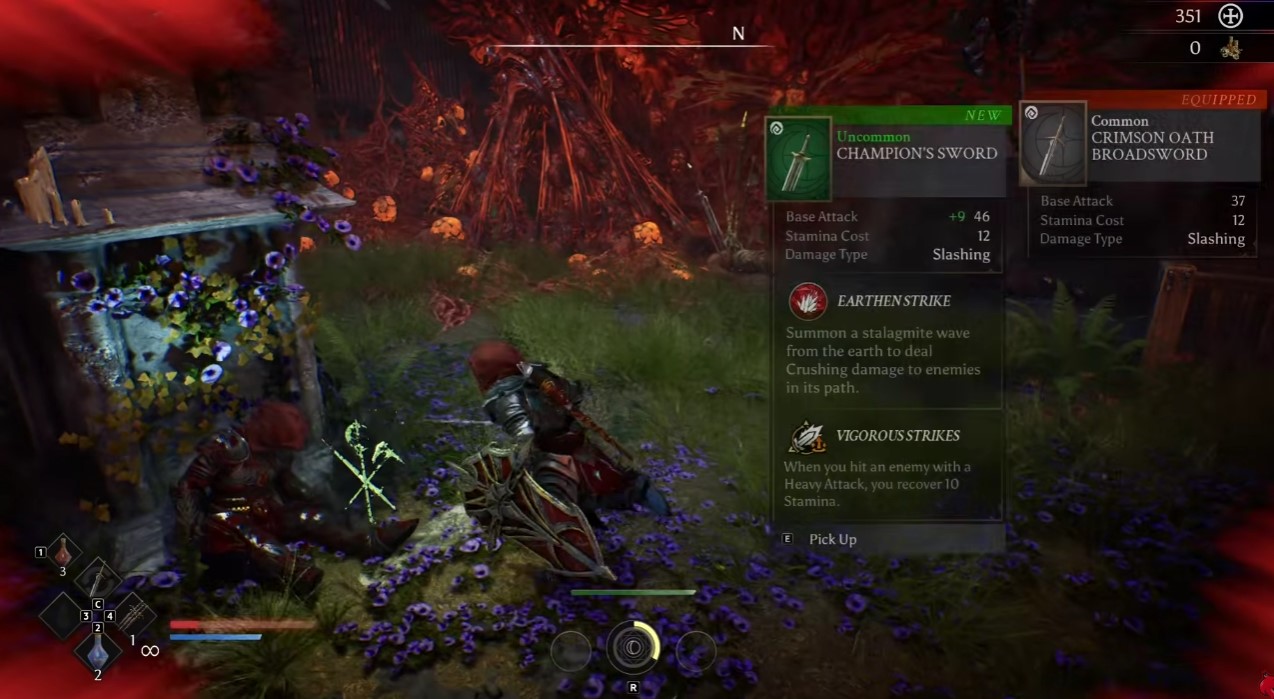
Demon Brute (intended loss)
Final prologue fight. You're not meant to win — mission completes on death or kill. Don't burn consumables here.
Stuck or want attack tables: demon brute prologue boss.
Hub unlock
Wake in Sanctus Silius. Talk to Knight Commander at the war table first (mission select). Then Merida at the library — Arais stones and lore questline start here. Lore checklist: lore collection and tomes.
2. Mission I: The Forsaken Streets
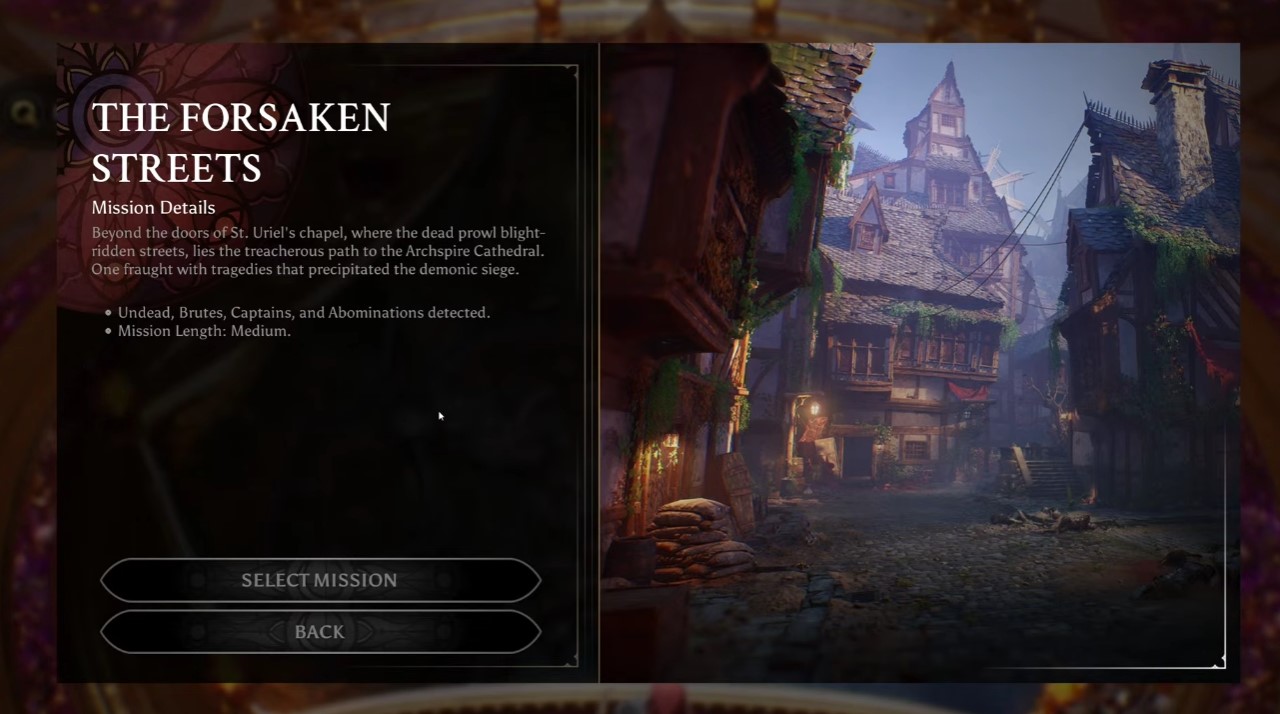
This is where the roguelike loop kicks in. Procedural districts, hordes, and death — but purification means gear you extract still counts.
Before you enter
War table → The Forsaken Streets. Check loadout: best armor, angel form if unlocked, at least one heal. Loadout screen reference: equipment purification.
Optional: accept matching bounties from Gallant before every mission.
District loop
- Clear enemies, loot everything, find the nexus gate.
- Complete gate objective (usually kill all).
- Choose next path at the gate — routes are random; I pick loot-heavy paths when healthy, safer paths when low.
- Repeat until mission ends.
What to grab in-run
- Weapons / armor (white → orange rarity)
- Lore scrolls and tomes
- Gold and souls
- Consumables (knives, heals)
Bag slots are limited — swap up, stash the rest on return.
Artifacts
Two artifacts per mission in chests or on elites. Need both for full district completion. Die before grabbing them → try again next run.
Warden — mission end
Mission ends when you die or beat the final boss, the Warden, behind the last nexus gate. Some status effects don't work on him — don't waste cooldowns.
Full fight: the warden forsaken streets boss.
Souls warning: Unspent souls are lost on death. Spend at the hub before every mission.
Return + purification
Win or lose, you return to Sanctus Silius. Carried gear is purified into your permanent collection automatically. Loadout building: equipment purification and collection.
3. Hub loop — Sanctus Silius
Turn run earnings into permanent power. Order I use after each mission:
| NPC | What I do |
|---|---|
| Knight Commander | New missions, story context |
| Merida | Lore quests → boons; scroll/tome turn-ins |
| Blacksmith | Weapon/shield upgrades — main weapon first |
| Merchant | Heals and gear before the next run |
| Gallant | Bounty board — accept what matches my next mission |
Upgrade priority and soul costs: upgrade weapons and shields.
4. Second District
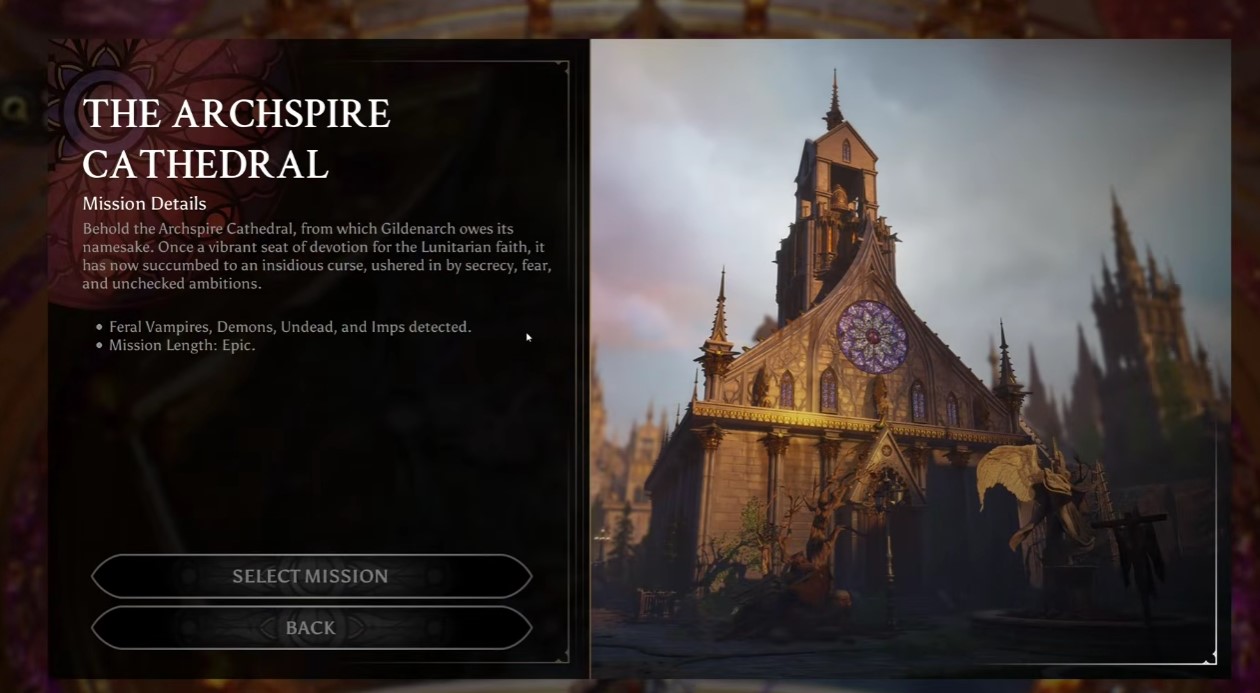
Unlocks after a few Forsaken Streets clears and some hub upgrades. Difficulty spike — don't enter under-upgraded.
- Clear first region — denser packs; use choke points.
- Pick a boon before region two — damage or health depending on build.
- Merchant's locket — side quest key item in a side room; explore off the main path.
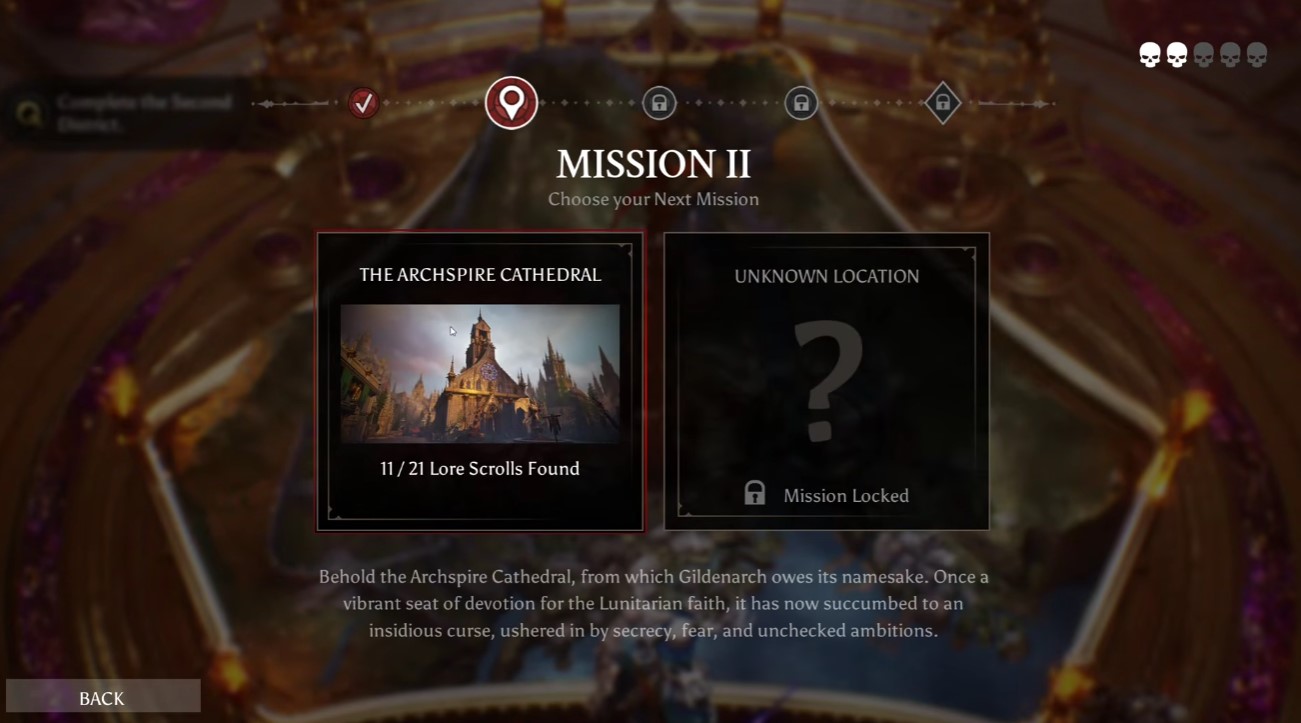
- Nexus gate — clear objective → Archspire Cathedral unlocks.
- Crescent tags — optional soldier quest in central plaza; five hidden tags. recover crescent tags.
- Lore sweep — twelve scrolls if you're completionist. collect lore scrolls.
Cardinal Mathias
End-of-district boss in Mission II: The Archspire Cathedral. Poison for sustained DPS, freeze to interrupt chains — don't brute-force with raw melee.
Full strat: Defeat Cardinal Mathias.
5. Souls vs XP — don't mix these up
| Resource | On death | Use for |
|---|---|---|
| XP / levels | Permanent | Stats, unlocks — always progress |
| Souls | Lost if unspent | Run upgrades at hub station before missions |
| Gold | Persists | Blacksmith permanent weapon levels, merchant buys |
Collect souls in missions → spend at hub before the next run. Even a small boost beats hoarding and losing everything.
6. Roguelike run structure
After the early districts, the campaign is multi-mission runs — not one long map.
- Every new run starts at Mission I — dying anywhere sends you back to the beginning of that run.
- Loadout locks when you start a run — you can't swap gear between Mission II and III mid-run.
- Spend all souls at the hub before launching the next run — same rule as §5.
- Blacksmith upgrades mid-run auto-equip the upgraded piece — watch what you touch.
- Path layout varies — open gates and objectives change. Read paths before you sprint: mission variants and path selection.
Higher difficulties replay earlier missions for better drops — see §13.
7. Mission I: Ramshorn Keep
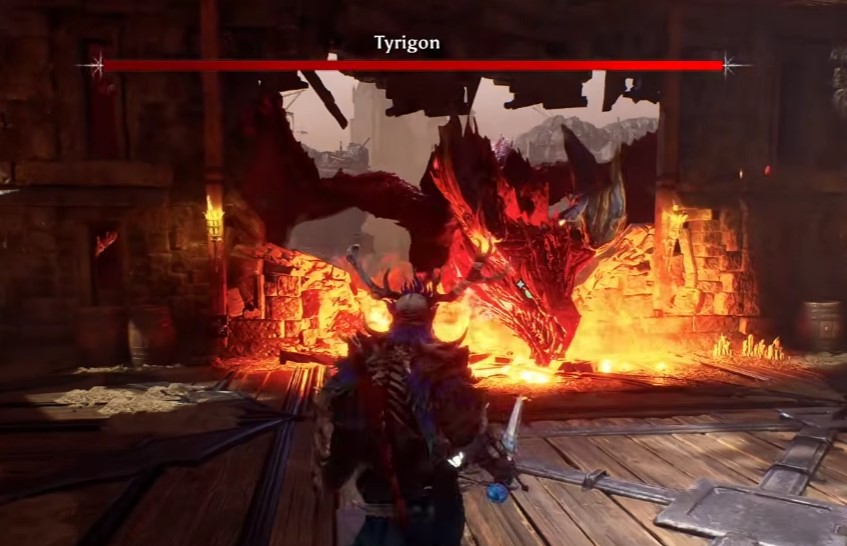
Alternate Mission I path — boss Tyrigon. New enemy variants, different layout, higher pressure than Forsaken Streets.
- Select Ramshorn Keep from the war table (Mission I variant).
- Clear zones — same nexus gate loop, tougher mixes.
- Beat Tyrigon at the end.
- Blacksmith tier bumps to Epic — huge power spike; upgrade main weapon before Mission III.
8. Mission III: Elk Grove Academy
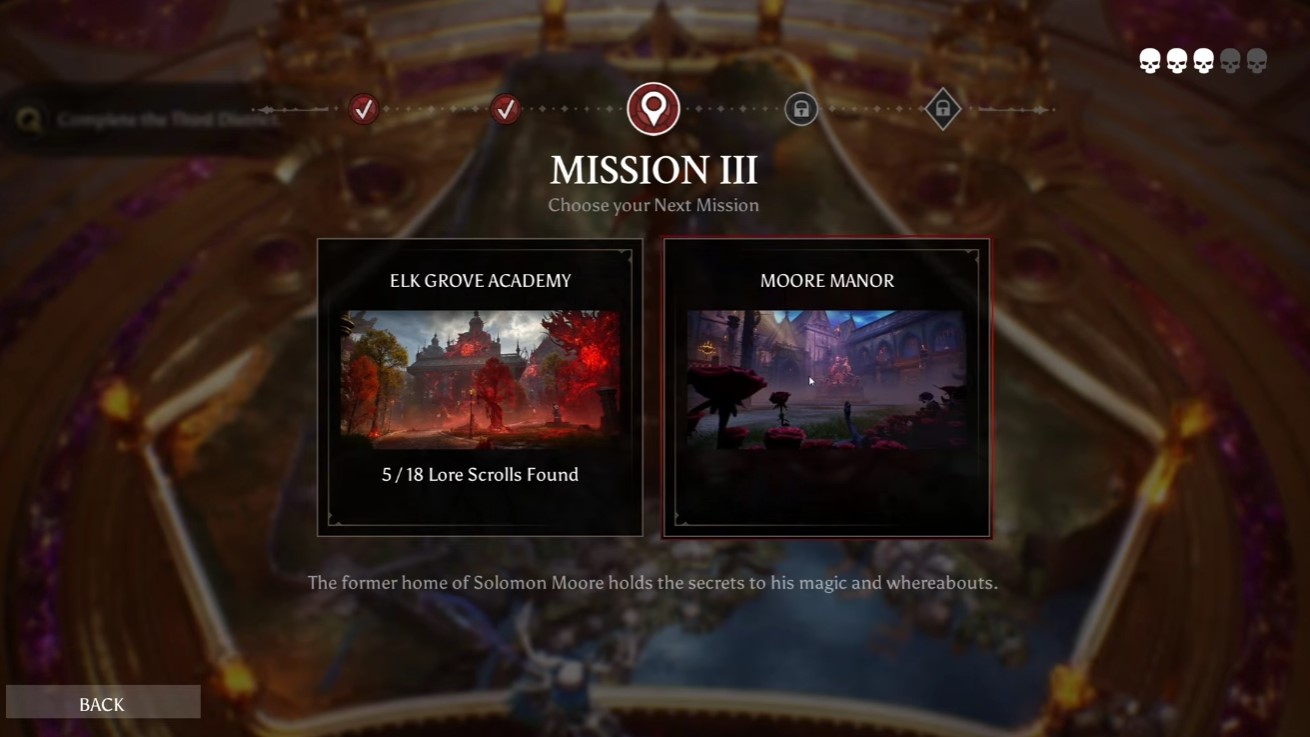
The run gets serious here. Die in Mission III → full run reset to Mission I.
- Enter only when Mission II upgrades are done.
- Expect harder variants and mini-bosses in the academy.
- Boss at the end: Flesh-Wrought Egregore.
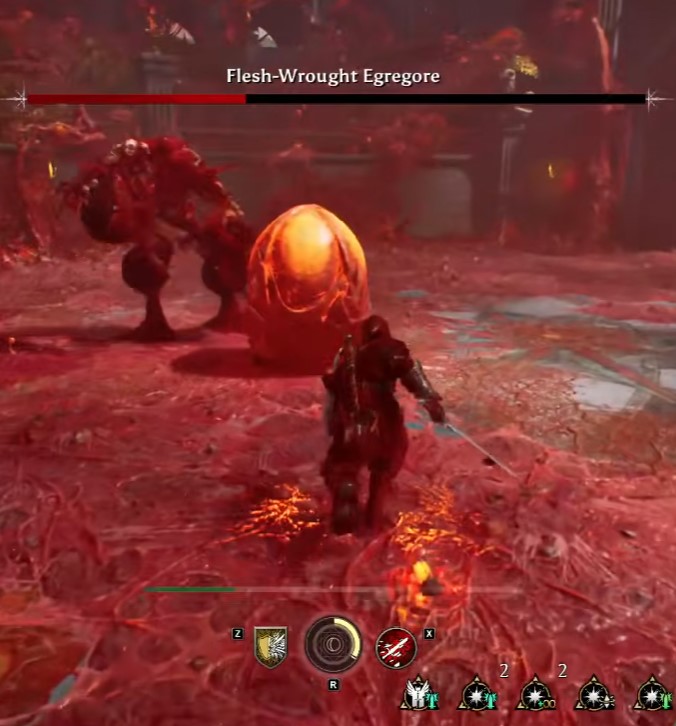
- Alternate Mission III path: Moore Manor — boss Felwyl, The Withered.
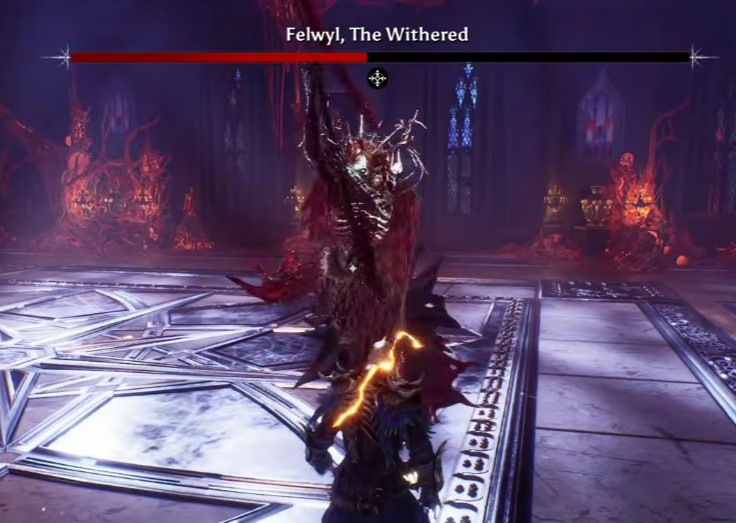
- Don't get greedy — low HP means consumables, not heroics.
- Clear the academy to reach Mission IV / world boss on that run.
Most of my failed runs die here.
9. Abrais stones — multi-run progression
True ending needs two Abrais stones from two full runs, then a third run for the final boss.
| Run | Mission IV boss | Stone |
|---|---|---|
| First full run | E'Efrae, The Dry Rot King (Defiled Cemetery) | Green |
| Second full run | Mahkteah, The Lord of Perdition (Ancient Chamber) | Red |
| Third run | Felwyl, The Ascended (Aegoroth, after M I–III) | — |
Each full run = complete Missions I, II, and III, then Mission IV world boss. Place stones in the hub slot after each successful run.
10. Mission IV — E'Efrae, The Dry Rot King
First-run Mission IV world boss — Defiled Cemetery. Frost or poison beats raw physical; mid-range dodging, not face-tanking.
Full fight: E'Efrae, The Dry Rot King.
Alternate Mission II path: General Valahk - Nor (Mission II: Wall Tower — keep DPS during downed phase).
11. Second run — Mahkteah, The Lord of Perdition
Replay Missions I–III, grab a boon before Mission IV: World Boss — Ancient Chamber (poison on light attacks, stamina recovery, or poison bonus — I like stamina solo).
Heavy telegraphs, chunk damage — heal below 50%, don't long combo. Co-op: one player revives, one DPS.
Full fight: Mahkteah, The Lord of Perdition.
12. Final Boss: Aegoroth — Felwyl, The Ascended
Both stones placed → order leader gives the final mission → Aegoroth arena.
- Don't skip the intro cutscene — arena state can desync in co-op.
- Don't chase him — let him come, dodge sideways, punish 2 hits max.
- Teleport habit: turn 180 — he often spawns behind you.
- Potions below ~40% only, behind cover.
- Fail = restart the full run to reach him again.
Full fight: Felwyl, The Ascended.
Alternative Mission II route (Archspire Cathedral, knives + Angelic Ascension): Cardinal Mathias boss fight.
13. Co-op and difficulty replays
Co-op: shared loot, free teammate revives (no heal charge cost). Still brutal on Felwyl — coordinate who revives.
Hard — Forsaken Streets replay: more enemies, better drops; legendary artifacts possible. Scyther packs are nasty.
Challenging — Ramshorn Keep: −2 lives, left/right paths may flip. Frost gear helps. Unlocks after clearing a normal full run.
Gear upgrade caps still follow story progress — grinding Hard early won't skip blacksmith gates.
Quick blocker index
| Problem | Page |
|---|---|
| Nexus gate won't open | nexus gate objectives |
| Prologue Demon Brute | demon brute prologue boss |
| Mission I — The Warden | the warden forsaken streets boss |
| Cardinal Mathias | defeat cardinal mathias |
| Purification / loadouts | equipment purification |
| Blacksmith / upgrades | upgrade weapons and shields |
| Bounties | bounties |
| Lore scrolls + tomes | lore collection and tomes |
| Second District scroll route | collect lore scrolls |
| Crescent tags quest | recover crescent tags |
| Mission path / variant reads | mission variants |
| E'Efrae, The Dry Rot King | E'Efrae |
| Mahkteah, The Lord of Perdition | Mahkteah |
| General Valahk - Nor (Wall Tower) | General Valahk - Nor |
| Felwyl, The Ascended (Aegoroth) | Felwyl |
| Cardinal Mathias (knives route) | Cardinal Mathias |
Finished Crimson Moon? Find your next game.
Browse the full library or pick another hub from the homepage.
Browse all game guides →